
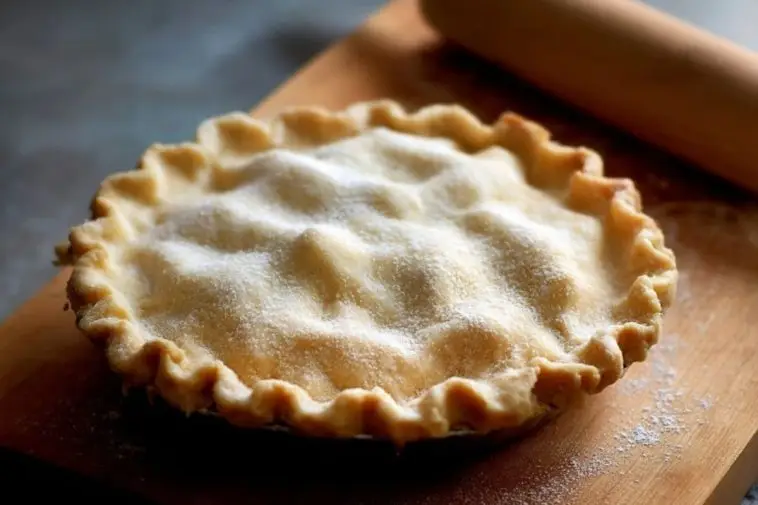

If you’ve ever dreamed of mastering the kind of pie crust that flakes at the touch of a fork and tastes like childhood memories, then this recipe is for you. Grandma’s Pie Crust is everything you want in a crust: tender, buttery, golden perfection with just the right hint of salt. It’s the foundation of every memorable pie and a must-have in your baking arsenal.
What makes this crust so special? It’s not just the flavor or the texture, though those are unbeatable. It’s the simplicity. With just a handful of pantry staples and a little technique, you can recreate the nostalgic magic that made Grandma’s pies legendary. This is more than a recipe—it’s a connection to the heart of homemade baking.
What Kind of Fat Should I Use for Pie Crust?
Choosing your fat is key to the final texture of your crust. Butter gives flavor and a crisp texture, while shortening or lard brings unbeatable flakiness. For Grandma’s version, we stick with all-butter for that rich, classic taste. But if you’re after even more flake, you can use half butter and half shortening. Just make sure everything stays cold before mixing!

Ingredients for the Grandma’s Pie Crust
Makes enough for 1 double crust or 2 single crust pies
- 2 1/2 cups all-purpose flour (plus more for dusting)
- 1 teaspoon salt
- 1 tablespoon sugar (optional, but helps browning)
- 1 cup (2 sticks) unsalted butter, very cold and cut into cubes
- 6 to 8 tablespoons ice water
How To Make the Grandma’s Pie Crust
Step 1: Mix the Dry Ingredients
In a large mixing bowl, whisk together the flour, salt, and sugar until combined. This helps distribute the salt evenly throughout the dough.
Step 2: Cut in the Butter
Add the cold, cubed butter to the bowl. Use a pastry cutter or your fingertips to work the butter into the flour until the mixture resembles coarse crumbs. You want visible pieces of butter for maximum flakiness.
Step 3: Add Ice Water Gradually
Drizzle in the ice water, one tablespoon at a time, gently stirring with a fork or your hands. Stop once the dough begins to come together without being wet or sticky. It should hold when pressed between your fingers.
Step 4: Divide and Chill
Turn the dough out onto a lightly floured surface. Gather it into a ball, divide it in half, and flatten each into a disc. Wrap both in plastic wrap and refrigerate for at least 1 hour (or up to 2 days). This resting time is essential for a tender crust.
Step 5: Roll It Out
On a floured surface, roll out one disc at a time into a 12-inch circle. Work quickly to keep the dough cold, turning frequently to prevent sticking.
Step 6: Transfer and Shape
Carefully transfer the rolled dough to your pie plate. Gently press it into the dish without stretching. Add your filling, top with the second crust if needed, crimp the edges, and chill again before baking.
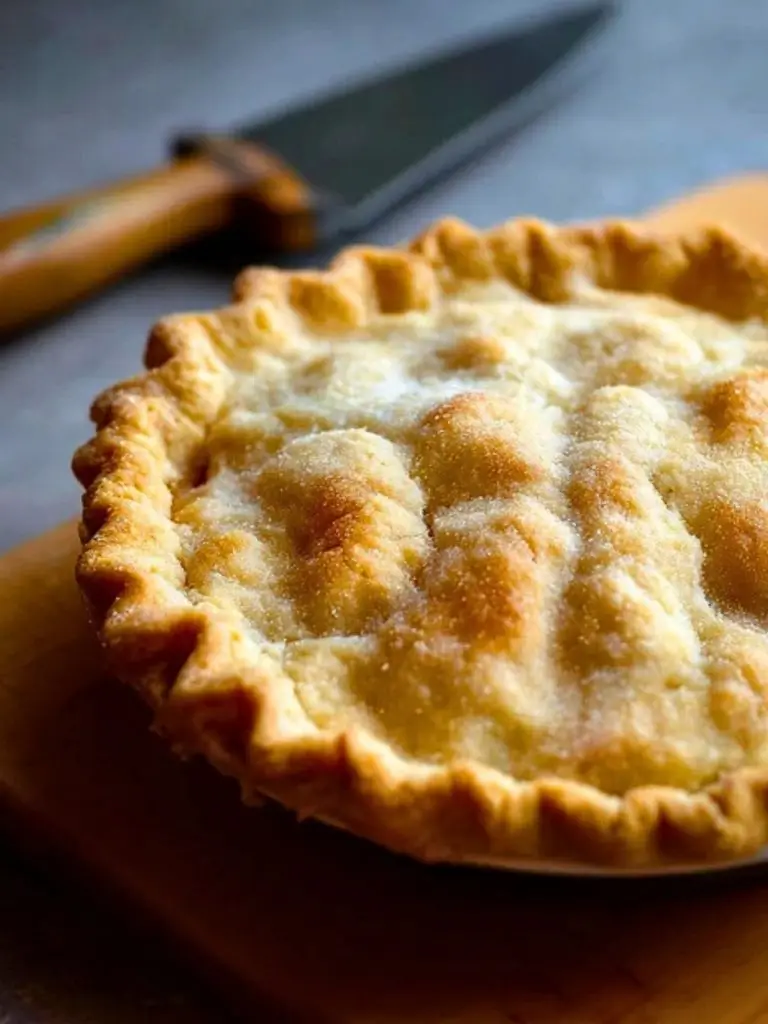
Step 7: Bake to Golden Perfection
Follow your pie recipe for baking temperature and time. A good crust usually starts in a hot oven (around 425°F) to set the shape, then lowers to finish baking. Look for a golden-brown, crisp surface.
How to Serve and Store Grandma’s Pie Crust
This crust is incredibly versatile, ready to shine in both sweet and savory dishes. Use it for fruit pies, pot pies, quiches, or even hand pies. Serve baked pies warm, at room temperature, or chilled depending on the filling. Pair sweet pies with a scoop of vanilla ice cream or a dollop of whipped cream.
To store, wrap any unused pie dough tightly in plastic wrap and keep it in the refrigerator for up to 2 days. For longer storage, freeze for up to 3 months. Thaw in the fridge overnight before using. Baked pie crusts can also be stored at room temperature for up to 2 days or refrigerated up to 4 days.
Frequently Asked Questions
How do I prevent my pie crust from shrinking?
Make sure to chill the dough after placing it in the pie pan. Avoid stretching the dough when fitting it into the pan, and use pie weights if pre-baking.
Can I make this pie crust ahead of time?
Absolutely! You can make the dough up to 2 days in advance and store it in the fridge, or freeze it for up to 3 months.
What if I don’t have a pastry cutter?
You can use two forks or even your fingers to cut the butter into the flour. Just work quickly to keep the butter from melting.
Why does my pie crust crack when rolling it out?
Cracks usually mean the dough is too cold or too dry. Let it rest at room temp for a few minutes and try again. A light mist of water can help bind dry dough.
Should I blind bake this crust?
If you’re making a custard or cream pie, yes. Blind baking ensures the crust stays crisp and doesn’t get soggy from a wet filling.
Can I use this crust for savory pies?
Yes! Simply omit the sugar if you’re going for a savory dish like chicken pot pie or quiche.
Want More Pie Ideas?
If you love the comfort of Grandma’s Pie Crust, you’re in for a treat with these other homemade pie and crust creations:
- Old-Fashioned Egg Custard Pie for a silky, creamy classic.
- Shamrock Mint Milkshake Pie if you’re craving something cool and minty.
- Creamy and Easy Egg Custard Pie for a smooth and luscious twist.
- Amish Applesauce Cake if you’re looking for more nostalgic bakes.
- Strawberry Cheesecake Dump Cake to explore fruity richness in a no-fuss way.
Save This Pin + Share Your Results
📌 Save this recipe to your Pinterest baking board so you always have it handy when pie cravings hit.
And I’d love to hear how your crust turned out! Did you go all-butter or half-shortening? Was it sweet or savory? Drop your thoughts in the comments and let’s swap pie stories.
If you want more of my daily baking adventures, follow along on Pinterest – Life with Jam.
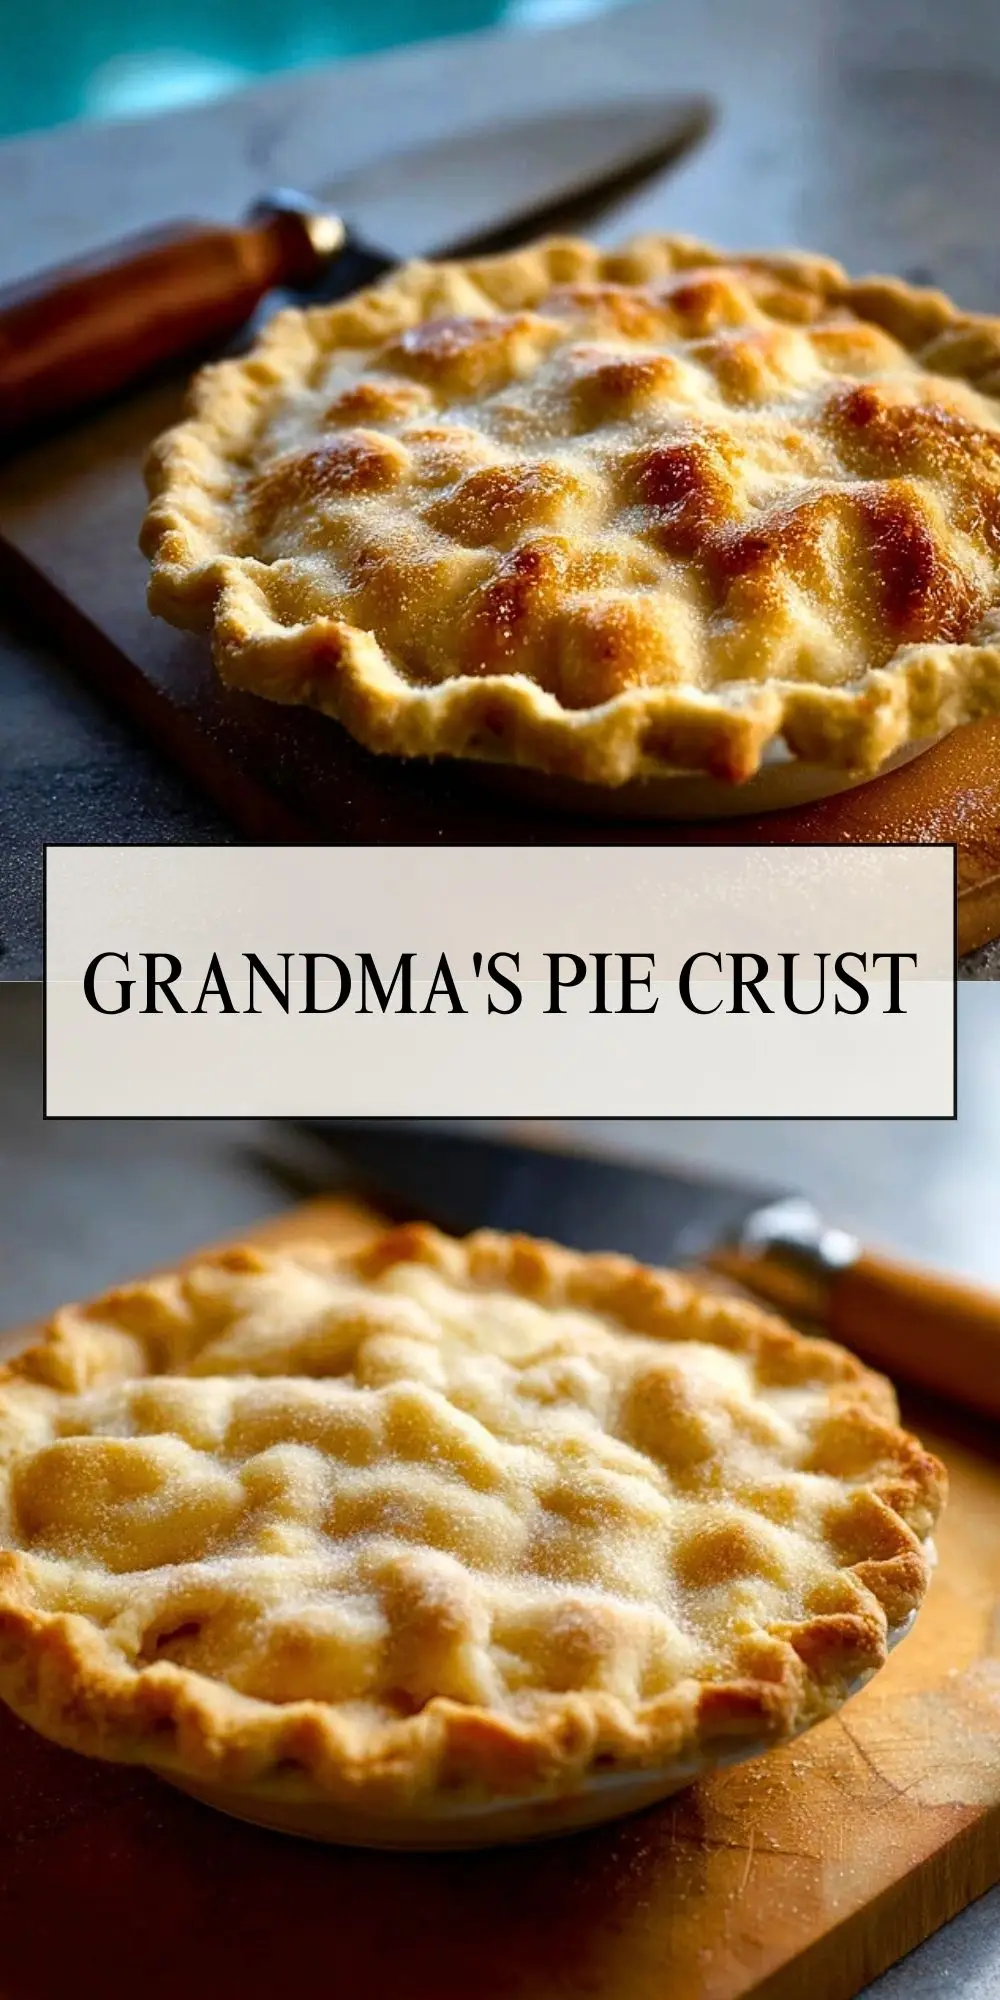
Grandma’s Pie Crust
- Total Time: 1 hour 15 minutes
- Yield: 2 single crusts or 1 double crust
- Diet: Vegetarian
Description
This is the only pie crust recipe you’ll ever need. Grandma’s Pie Crust is buttery, flaky, and foolproof, making it perfect for both sweet and savory pies. Whether you’re crafting a comforting chicken pot pie or a golden apple pie, this crust holds its shape beautifully while delivering tender layers of flavor. With just a few staple ingredients, this easy recipe is your go-to for baking success. It’s the ideal choice for quick breakfast ideas, easy dinner recipes, and holiday baking. Perfect for pie beginners and pros alike!
Ingredients
2 1/2 cups all-purpose flour
1 teaspoon salt
1 tablespoon sugar (optional)
1 cup unsalted butter, cold and cubed
6 to 8 tablespoons ice water
Instructions
1. In a large mixing bowl, whisk together the flour, salt, and sugar until well combined.
2. Add the cold, cubed butter and cut it into the flour using a pastry cutter or your fingertips until the mixture looks like coarse crumbs with some pea-sized bits of butter remaining.
3. Drizzle in the ice water one tablespoon at a time, stirring gently with a fork or your hands until the dough begins to clump together but isn’t wet.
4. Turn the dough onto a floured surface, gather it into a ball, divide into two discs, wrap in plastic, and refrigerate for at least 1 hour or up to 2 days.
5. On a lightly floured surface, roll one dough disc into a 12-inch circle, turning frequently to avoid sticking.
6. Gently transfer the dough into a pie plate, pressing it into the bottom and sides without stretching.
7. If making a double crust pie, add your filling and top with the second crust. Crimp the edges and chill for 15–30 minutes.
8. Bake according to your pie recipe, usually starting at 425°F and adjusting as needed. Crust should be golden and crisp.
Notes
Keep all ingredients as cold as possible to ensure flakiness.
If the dough feels dry, don’t be afraid to add an extra teaspoon of ice water.
Always chill the assembled pie before baking—it helps prevent shrinkage and promotes even browning.
- Prep Time: 15 minutes
- Cook Time: Varies with filling
- Category: Dessert / Savory Base
- Method: Baked
- Cuisine: American
Nutrition
- Serving Size: 1 slice
- Calories: 310
- Sugar: 1
- Sodium: 180
- Fat: 22
- Saturated Fat: 14
- Unsaturated Fat: 6
- Trans Fat: 0
- Carbohydrates: 24
- Fiber: 1
- Protein: 3
- Cholesterol: 60

