

These Grinch Cookies Decorated are the kind of holiday treat that instantly steals the spotlight on a dessert table. With their bright green frosting, playful Grinch face, and tiny Santa hat details, they bring a fun Christmas character to life in cookie form while still tasting soft, buttery, and completely irresistible.
They are a wonderful choice for cookie exchanges, holiday baking days with kids, classroom parties, or festive family gatherings. Once the cookies are baked and cooled, the decorating becomes the best part. Each one gets its own little expression, which makes the whole batch feel extra special and memorable.
What Makes Grinch Cookies Decorated So Fun for Christmas Baking?
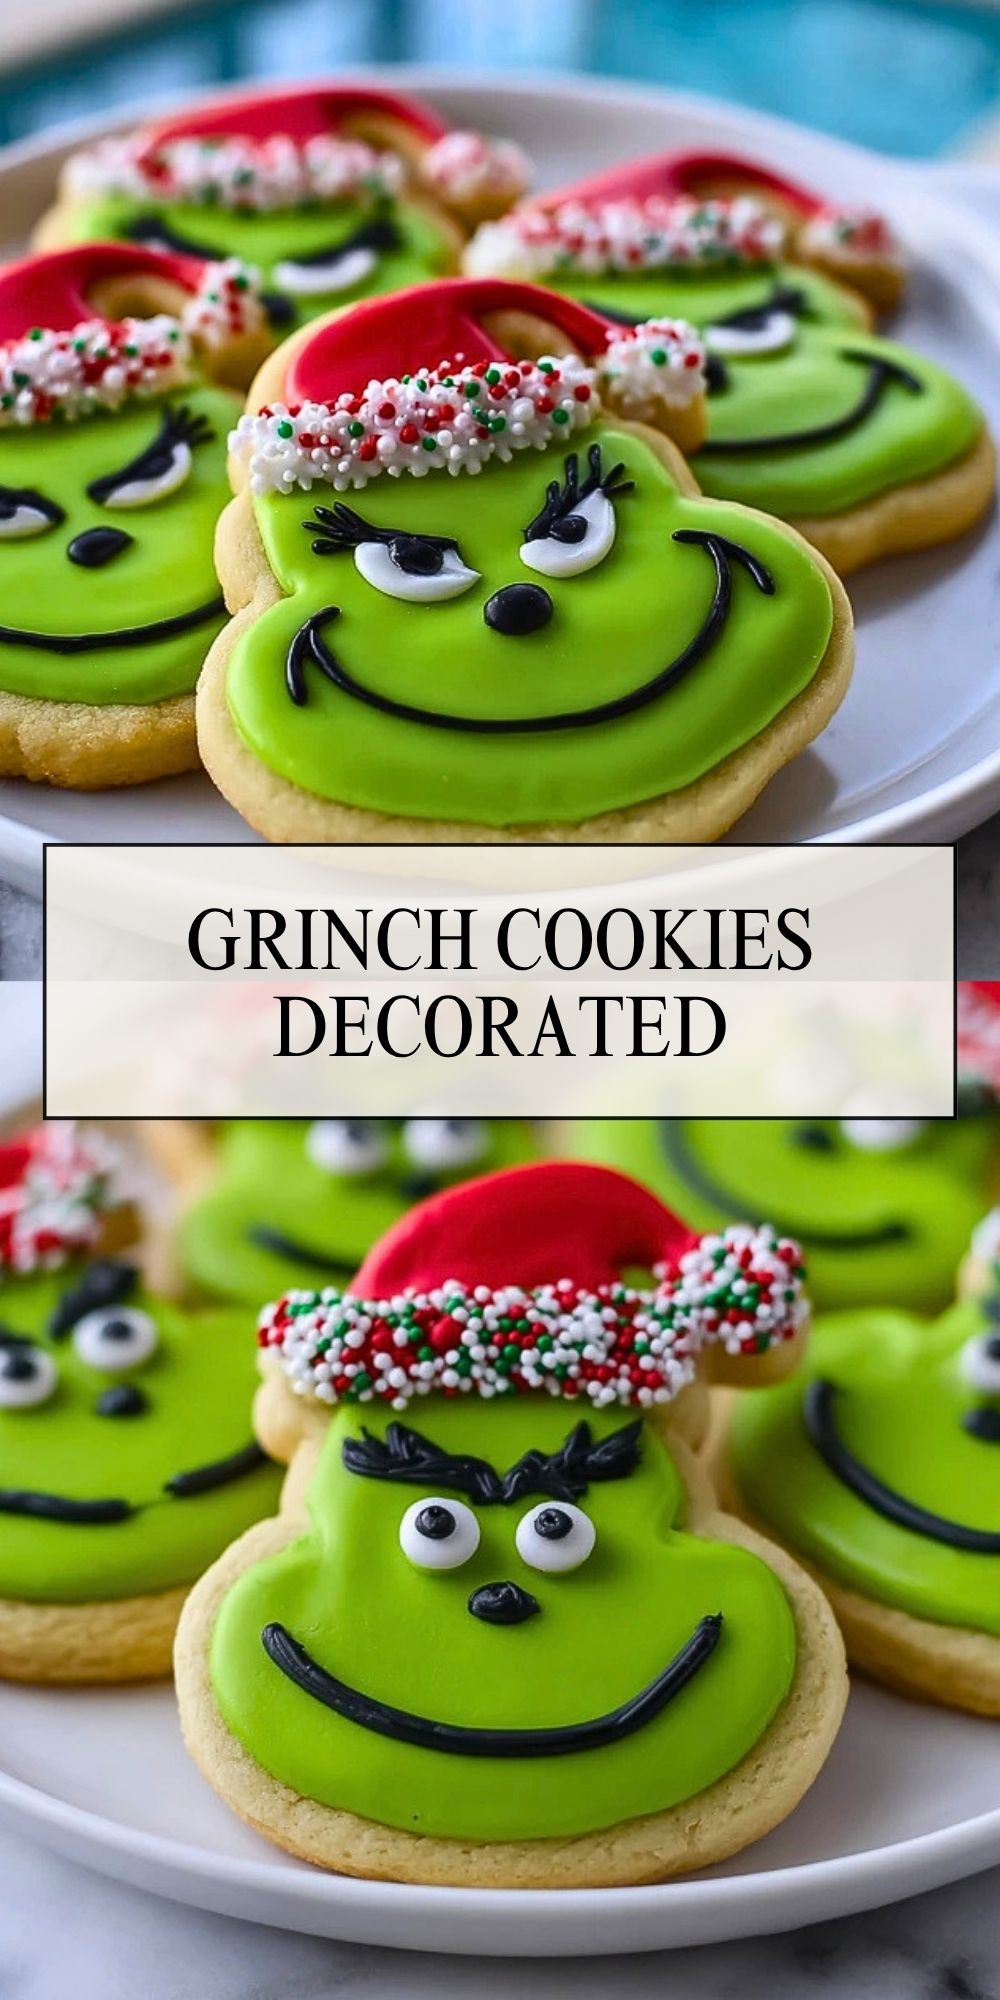
Grinch Cookies Decorated are more than simple sugar cookies with icing. They turn a classic holiday cookie into something cheerful, playful, and instantly recognizable. The base is a tender sugar cookie that holds its shape well, while the smooth green icing creates the perfect canvas for the Grinch face. Black and white icing add the eyebrows, eyes, smile, and nose, and a red Santa hat finishes the look.
Because the design is easy to personalize, these cookies are great for beginner decorators and seasoned holiday bakers alike. Some can look mischievous, some can look sweet, and some can have a comically grumpy expression. That homemade character is exactly what makes them so charming.


Ingredients for the Grinch Cookies Decorated
You only need a handful of baking basics plus a few decorating ingredients to make these cookies look festive and taste delicious.
For the sugar cookies
- 2 3/4 cups all-purpose flour
- 1 teaspoon baking powder
- 1/2 teaspoon salt
- 1 cup unsalted butter, softened
- 1 cup granulated sugar
- 1 large egg
- 2 teaspoons vanilla extract
- 1/2 teaspoon almond extract, optional
For the green icing base
- 3 cups powdered sugar
- 2 to 3 tablespoons milk
- 2 tablespoons light corn syrup
- 1/2 teaspoon vanilla extract
- Green gel food coloring
For the decorating icing
- 1 cup powdered sugar, divided as needed for piping
- 1 to 2 teaspoons milk, plus more as needed
- Black gel food coloring or black decorating icing
- White decorating icing
- Red decorating icing
Optional decorating extras
- Holiday sprinkles
- Red sugar pearls
- Edible marker for detail work
- Piping bags or small zip-top bags
The butter gives the cookies a rich flavor, while the vanilla keeps the dough classic and bakery-style. Using gel food coloring instead of liquid coloring helps you get that bold Grinch green without thinning the icing too much.
How To Make the Grinch Cookies Decorated
The process is straightforward and easy to break into stages. Bake the cookies first, let them cool completely, then decorate once the icing is ready.
Step 1: Make the cookie dough
Whisk together the flour, baking powder, and salt in a medium bowl. In a separate large bowl, beat the softened butter and sugar until light and creamy. Add the egg, vanilla extract, and almond extract if using. Mix until smooth.
Gradually add the dry ingredients into the wet ingredients, mixing just until a soft dough forms. Do not overmix, or the cookies can turn dense instead of tender.
Step 2: Chill the dough
Divide the dough into two portions and flatten each into a disk. Wrap them and chill for at least 1 hour. Chilled dough is much easier to roll and helps the cookies keep their shape during baking.
Step 3: Roll and cut the cookies
Preheat the oven to 350°F. Line baking sheets with parchment paper. Roll the chilled dough on a lightly floured surface to about 1/4-inch thickness. Use a Grinch head cookie cutter or a rounded ornament-style cutter if that is what you have.
Transfer the cut cookies to the baking sheets, spacing them about 2 inches apart.
Step 4: Bake until set
Bake for 8 to 10 minutes, or until the edges are just lightly golden. The centers should still look pale. Let the cookies cool on the baking sheet for a few minutes, then transfer them to a wire rack to cool completely.
Step 5: Prepare the green icing
In a bowl, stir together the powdered sugar, milk, corn syrup, vanilla extract, and green gel coloring until smooth. The icing should be thick enough to coat the top of the cookie without running completely off the edges. Adjust with a tiny bit more milk or powdered sugar as needed.
Step 6: Flood the cookie tops
Spread or flood the tops of the cooled cookies with the green icing, leaving a small border near the edge if you want a neat outline. Let the base layer set before adding facial details. This prevents the black and white icing from smearing into the green.
Step 7: Add the Grinch face details
Pipe white circles for the eyes, then add small black dots for the pupils. Use black icing to pipe the nose, smile, and signature arched eyebrows. A slightly curved smile instantly gives the cookies that classic Grinch expression.
Step 8: Finish with the Santa hat
Pipe a red semicircle hat at the top of each cookie. Add a white brim and a small pom-pom for the finishing touch. Let the decorated cookies dry fully before stacking or storing.
Serving and Storing Grinch Cookies Decorated
These cookies are best served once the icing has fully set, which makes them easier to handle and keeps the design neat. They look beautiful arranged on a holiday cookie tray, wrapped in clear treat bags, or boxed up as homemade Christmas gifts.
Store Grinch Cookies Decorated in a single layer or between sheets of parchment paper in an airtight container at room temperature for up to 5 days. If your kitchen runs warm, keep them in a cool spot so the icing stays firm. You can also freeze the undecorated cookies for up to 2 months, then thaw and decorate when needed.
Frequently Asked Questions
Can I make the cookies ahead of time?
Yes. You can bake the cookies 1 to 2 days in advance and decorate them later. You can also make the dough ahead and chill it overnight.
What type of icing works best for decorating?
A simple powdered sugar glaze works well for the green base, while thicker piping icing is best for facial details. Royal icing also works if you prefer a firmer finish.
Do I need a special cookie cutter?
No. A Grinch-shaped cutter is fun, but you can also use a round or ornament-shaped cutter and decorate the face on top.
How do I keep the icing from smudging?
Let each icing layer set before adding the next. Start with the green base, then add the eyes and face details once it is mostly dry.
Can kids help decorate these cookies?
Absolutely. Kids love adding the faces and Santa hats. It is a fun holiday baking activity because every cookie can have a slightly different personality.
Can I use store-bought cookie dough?
Yes. Store-bought sugar cookie dough can save time, especially if the main goal is making festive decorated cookies rather than baking from scratch.
Want More Cookie Ideas?
If you love festive cookies and fun dessert ideas, these other treats from Life with Jam are worth adding to your baking list:
- Caramel Cheesecake Cookies for a rich, creamy cookie with a bakery-style feel.
- Perfect Chocolate Chip Cookies when you want a classic cookie everyone reaches for first.
- Rice Krispie Chocolate Chip Cookies for a fun chewy cookie with extra texture.
- Lemon Sugar Cookies if you want something bright, soft, and citrusy.
- Kentucky Butter Cake Cookies for a buttery dessert that feels extra special.
You can also find more daily dessert inspiration and festive baking ideas on Life with Jam on Pinterest.
Save This Pin + Share Your Results
📌 Save this recipe to your Pinterest Christmas cookies board so you can come back to it whenever holiday baking starts calling your name.
And when you make these Grinch Cookies Decorated, share how they turned out. Did you keep the face classic, make them extra grumpy, or give each cookie its own silly expression?
I always love seeing how a simple holiday idea turns into something personal in your kitchen. Questions are welcome too, especially if you want help with icing consistency, decorating tips, or make-ahead planning.

Grinch Cookies Decorated
- Total Time: 1 hour 35 minutes
- Yield: 24 cookies
- Diet: Vegetarian
Description
Grinch Cookies Decorated are a fun and festive holiday treat that turns a simple sugar cookie into a showstopping Christmas dessert. These easy cookies are topped with bright green icing, playful Grinch faces, and tiny Santa hats, making them perfect for cookie exchanges, Christmas parties, holiday dessert boards, and fun baking days with kids. If you are looking for easy recipe ideas, Christmas cookie ideas, holiday food ideas, and homemade dessert ideas that feel cheerful and memorable, these decorated Grinch cookies are a perfect choice.
Ingredients
2 3/4 cups all-purpose flour
1 teaspoon baking powder
1/2 teaspoon salt
1 cup unsalted butter, softened
1 cup granulated sugar
1 large egg
2 teaspoons vanilla extract
1/2 teaspoon almond extract, optional
3 cups powdered sugar
2 to 3 tablespoons milk
2 tablespoons light corn syrup
Green gel food coloring
1 cup extra powdered sugar for piping icing
1 to 2 teaspoons extra milk for piping icing
Black decorating icing
White decorating icing
Red decorating icing
Instructions
1. In a medium bowl, whisk together the flour, baking powder, and salt.
2. In a large bowl, beat the softened butter and granulated sugar until light and creamy.
3. Add the egg, vanilla extract, and almond extract if using, then mix until smooth.
4. Gradually mix the dry ingredients into the wet ingredients until a soft dough forms.
5. Divide the dough into two disks, wrap, and chill for at least 1 hour.
6. Preheat the oven to 350°F and line baking sheets with parchment paper.
7. Roll the chilled dough to about 1/4-inch thick and cut into Grinch face or round shapes.
8. Place the cookies on the prepared baking sheets and bake for 8 to 10 minutes, until the edges are lightly golden.
9. Cool the cookies on the pan for a few minutes, then transfer to a wire rack to cool completely.
10. In a bowl, stir together the powdered sugar, milk, corn syrup, vanilla extract, and green gel food coloring to make the base icing.
11. Spread or flood the tops of the cooled cookies with the green icing and let it begin to set.
12. Prepare thicker piping icing with the extra powdered sugar and a small amount of milk if needed.
13. Pipe white eyes, black pupils, a black nose, a curved smile, and arched eyebrows to create the Grinch face.
14. Pipe a red Santa hat at the top of each cookie, then add a white brim and pom-pom.
15. Let the decorated cookies dry completely before serving or storing.
Notes
Chill the dough well so the cookies keep their shape while baking.
Let the green icing set slightly before piping the facial details to avoid smudging.
Use gel food coloring for the brightest green color without thinning the icing too much.
- Prep Time: 25 minutes
- Cook Time: 10 minutes
- Category: Dessert
- Method: Baking
- Cuisine: American
Nutrition
- Serving Size: 1 cookie
- Calories: 210
- Sugar: 18g
- Sodium: 85mg
- Fat: 9g
- Saturated Fat: 5g
- Unsaturated Fat: 3g
- Trans Fat: 0g
- Carbohydrates: 30g
- Fiber: 0g
- Protein: 2g
- Cholesterol: 22mg