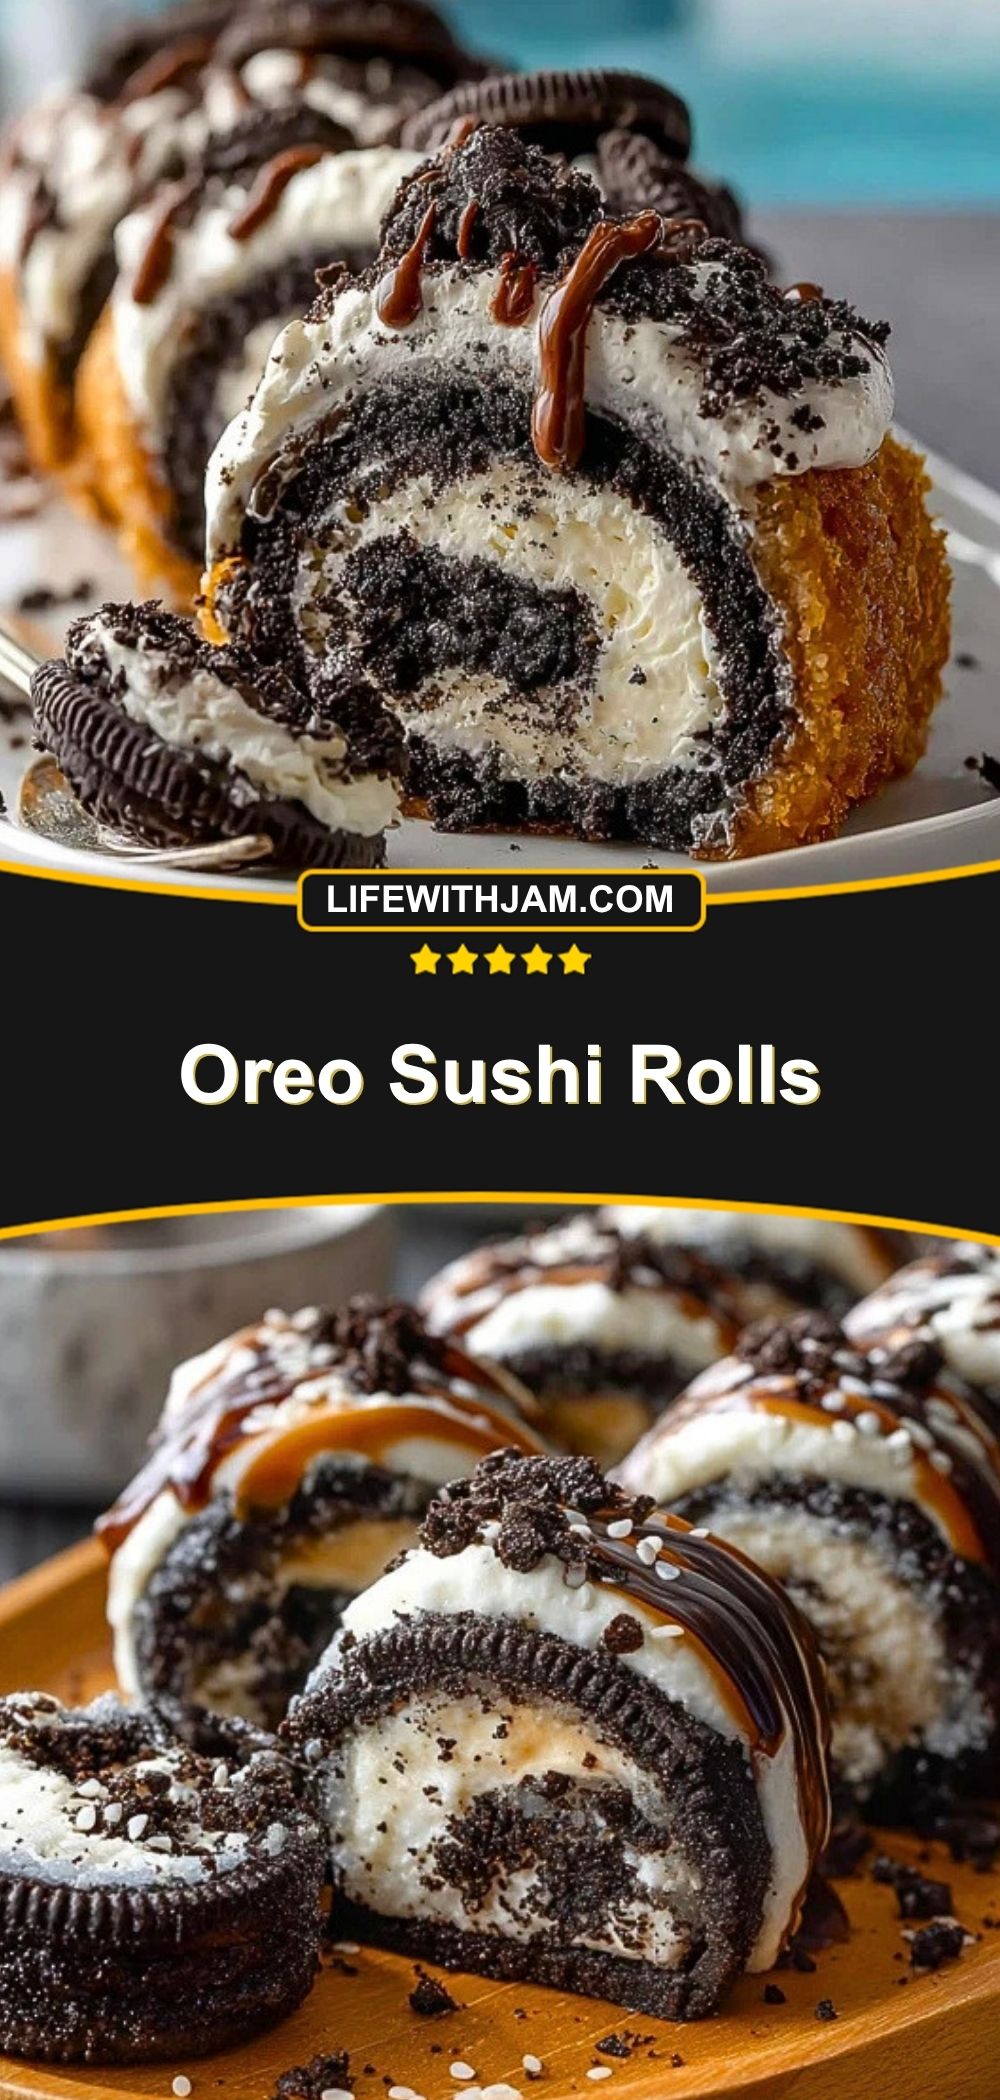

Oreo Sushi Rolls are one of those playful desserts that instantly make people smile. They look impressive on the plate, but they are surprisingly simple to make with a handful of sweet ingredients. Each slice has a soft chocolate cookie shell wrapped around a creamy center, then finished with whipped topping, cookie crumbs, and a glossy caramel drizzle for extra dessert drama.
This no-bake treat is perfect for birthday parties, movie nights, holiday platters, or anytime you want a fun dessert that feels a little different from the usual cookies and bars. If you love Oreos, cream cheese desserts, and easy sweet snacks that come together without much fuss, these Oreo Sushi Rolls deserve a spot on your must-make list.
What Makes Oreo Sushi Rolls So Fun to Serve?
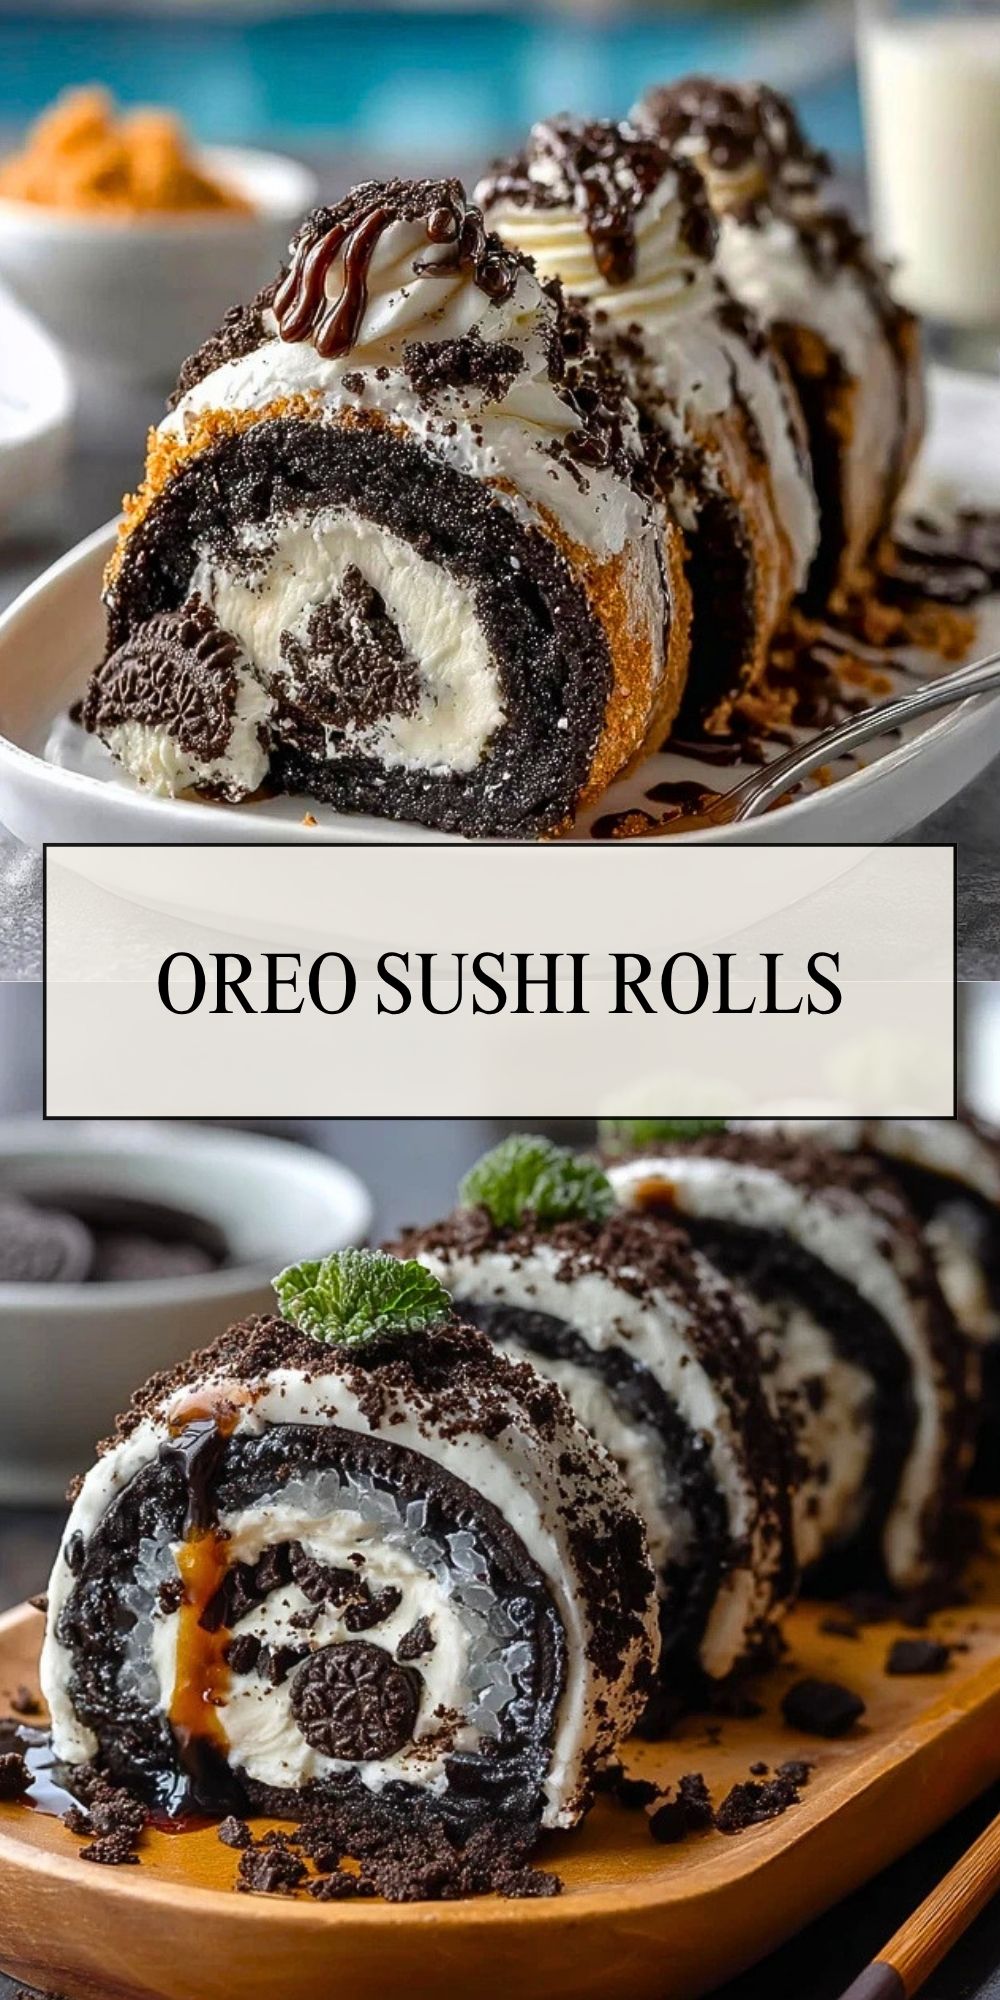
Part of the charm of Oreo Sushi Rolls is the surprise factor. They look inspired by sushi rolls, but every bite is pure cookies-and-cream dessert. The contrast between the dark Oreo coating and the fluffy filling gives them a bakery-style look, while toppings like caramel sauce, mini Oreos, and whipped cream make them feel extra special.
They are also easy to customize. You can keep them simple, add chocolate drizzle, swap in crushed candies, or make them party-ready with colorful sprinkles. Because they are sliced into rounds, they are easy to plate, easy to share, and ideal for serving as bite-sized dessert pieces.

Ingredients for the Oreo Sushi Rolls
You only need a few easy ingredients to pull these together, and each one helps create that rich cookies-and-cream flavor and smooth rollable texture.
- Oreo cookies: The base of the outer layer. Crushed Oreo crumbs mixed with a little moisture create the dark, flexible shell.
- Milk: Helps soften the crushed cookies just enough so the mixture can be pressed and rolled without cracking.
- Cream cheese, softened: Gives the filling a rich, tangy base that balances the sweetness of the cookies.
- Powdered sugar: Sweetens the filling while keeping it smooth.
- Whipped topping or stabilized whipped cream: Lightens the filling and makes it fluffy.
- Extra crushed Oreos: Folded into the filling or sprinkled on top for more crunch and deeper cookies-and-cream flavor.
- Caramel sauce: Drizzled over the top for a sweet, glossy finish.
- Mini Oreo cookies: A fun garnish that makes the finished rolls look even more eye-catching.
Optional add-ins
- Vanilla extract for a little extra warmth
- Chocolate sauce instead of caramel
- Crushed toffee bits for crunch
- A pinch of sea salt to balance the sweetness
How To Make the Oreo Sushi Rolls
This dessert comes together in a few simple steps. The key is chilling the roll before slicing so each piece holds its shape cleanly.
Step 1: Crush the Oreos
Add the Oreo cookies to a food processor and pulse until you have very fine crumbs. If you do not have a processor, place them in a sealed bag and crush them with a rolling pin. Transfer the crumbs to a bowl.
Step 2: Make the Cookie Dough Base
Add milk a little at a time to the Oreo crumbs and mix until the texture feels like soft dough. It should hold together when pressed but not feel wet or sticky. Place the mixture between two sheets of parchment paper and roll it into a rectangle.
Step 3: Prepare the Creamy Filling
In a separate bowl, beat the softened cream cheese and powdered sugar until smooth. Fold in the whipped topping until light and fluffy. Stir in a few crushed Oreo crumbs for extra texture if you want more cookies-and-cream flavor in every bite.
Step 4: Spread and Roll
Carefully remove the top sheet of parchment from the Oreo layer. Spread the filling evenly across the surface, leaving a small border around the edges. Starting from one long side, gently roll it up into a tight log, using the parchment to help guide the shape.
Step 5: Chill Until Firm
Wrap the roll tightly and refrigerate for at least 1 hour, or until firm. This helps the filling set and makes the slices neat and clean.
Step 6: Slice and Garnish
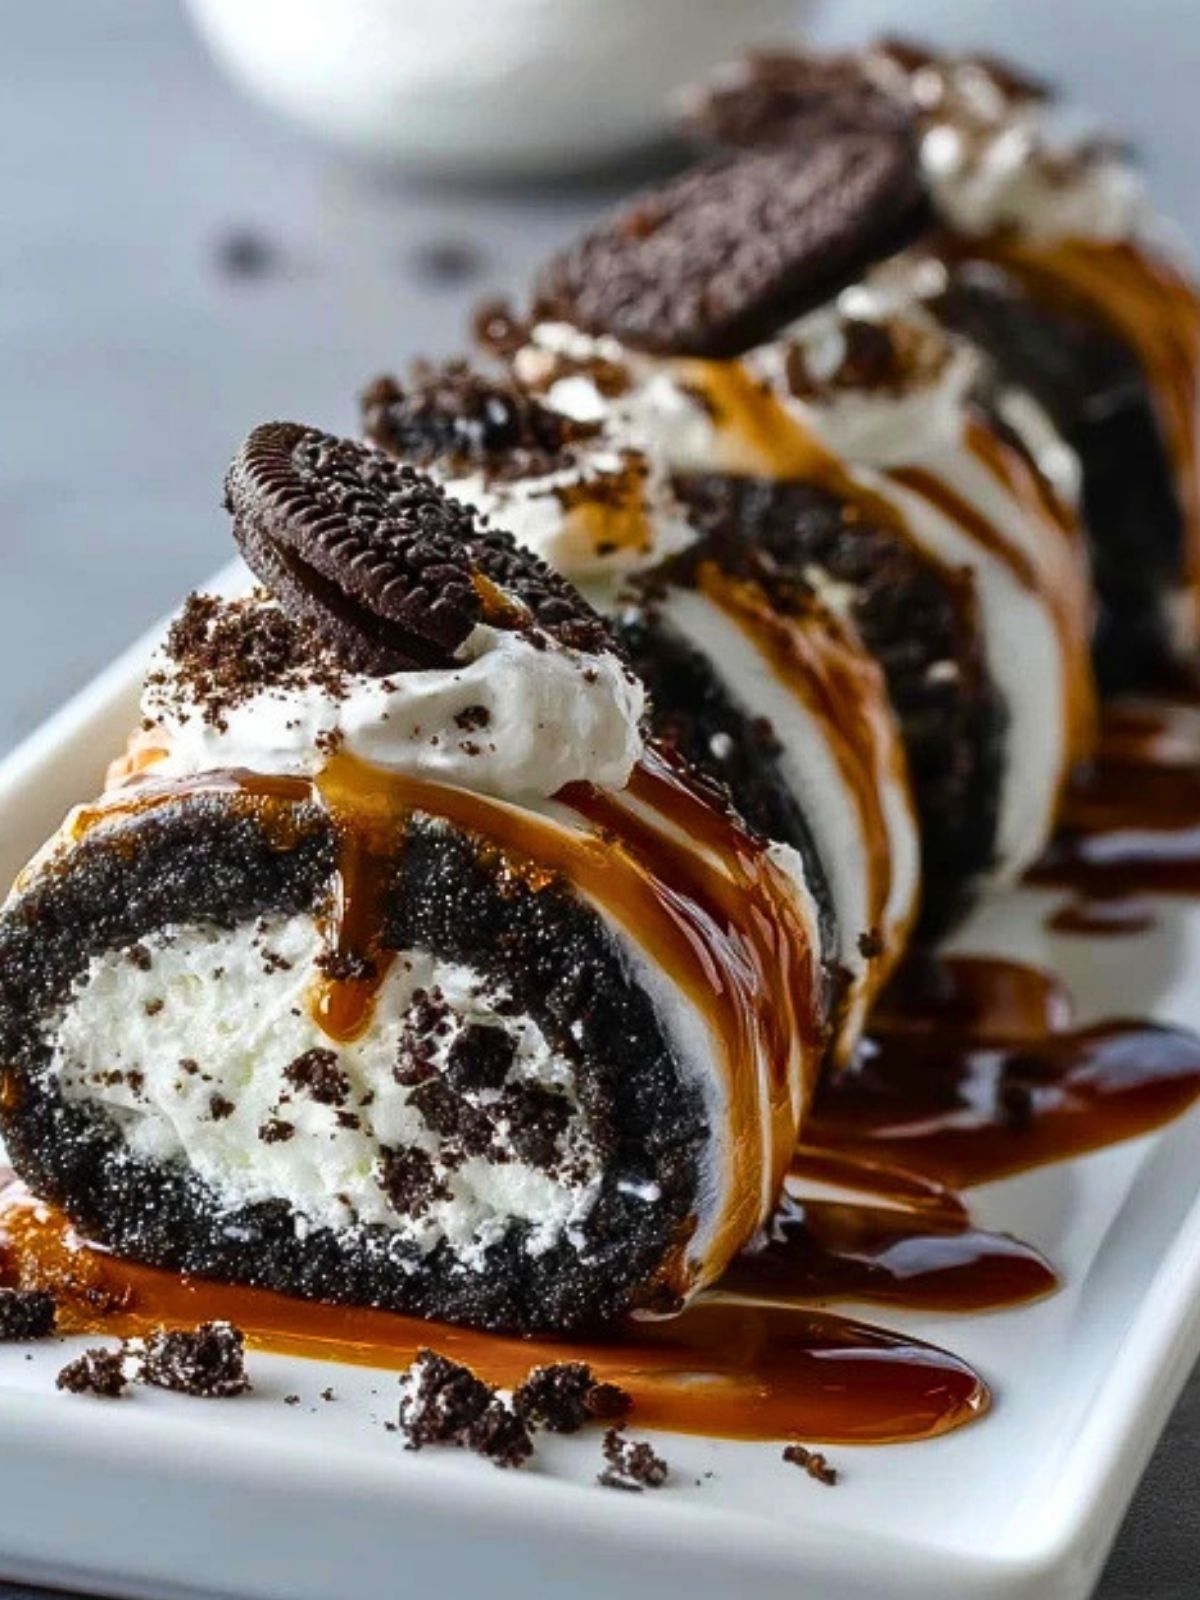
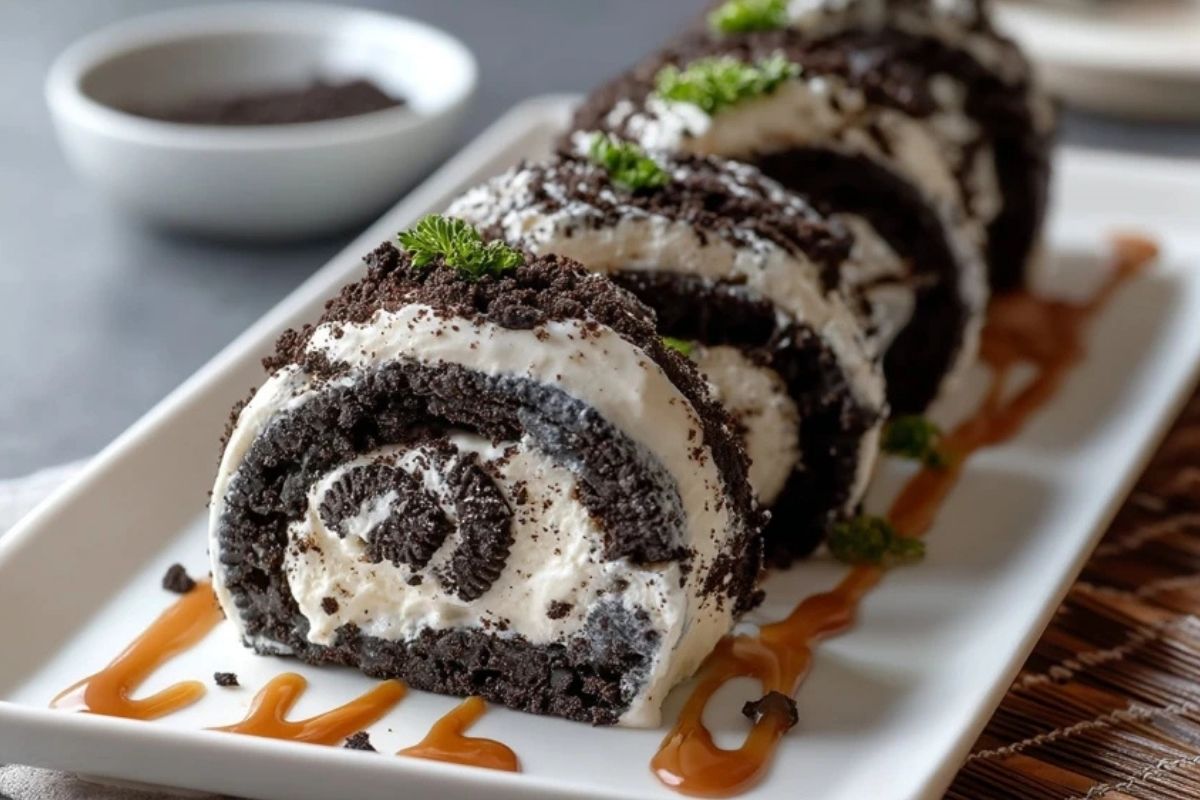
Unwrap the chilled roll and use a sharp knife to slice it into rounds. Top each piece with whipped topping, mini Oreo cookies, extra crumbs, and a drizzle of caramel sauce for a dessert platter that looks as fun as it tastes.
Serving and Storing Oreo Sushi Rolls
Oreo Sushi Rolls are best served chilled, straight from the refrigerator. The filling stays creamy, the slices hold their shape better, and the toppings look freshest this way. Arrange them on a platter with extra caramel drizzle and cookie crumbs for a dessert table that feels playful and polished.
Store leftovers in an airtight container in the refrigerator for up to 3 days. For the best texture, wait to add whipped topping and final drizzles until just before serving. Freezing is possible, but the texture of the filling may soften slightly after thawing, so these are best enjoyed fresh or within a couple of days.
Frequently Asked Questions
Can I make Oreo Sushi Rolls ahead of time?
Yes. You can make the full roll a day ahead and keep it chilled. Slice and garnish just before serving for the prettiest presentation.
Do I have to use whipped topping?
No. You can use homemade stabilized whipped cream instead. Just make sure it is thick enough to hold the filling together.
Can I use different Oreo flavors?
Absolutely. Golden Oreos, mint Oreos, or seasonal flavors can all work well and give the dessert a different twist.
Why is my Oreo layer cracking?
It usually means the crumb mixture is a little too dry. Add a touch more milk and knead gently until it becomes more flexible.
Can I freeze Oreo Sushi Rolls?
Yes, but they are best after chilling rather than freezing. If you freeze them, wrap tightly and thaw in the refrigerator before serving.
What toppings go well with Oreo Sushi Rolls?
Caramel sauce, chocolate syrup, whipped cream, cookie crumbs, mini Oreos, chopped nuts, and even sprinkles all work well.
Want More Dessert Ideas?
If Oreo Sushi Rolls made your dessert table more exciting, these sweet favorites from Life with Jam are worth saving next:
- Caramel Cheesecake Cookies for a rich cookie with creamy, caramel flavor.
- Perfect Chocolate Chip Cookies when you want a classic homemade favorite.
- Easy Cream Puff Cake for another creamy dessert that feels special but is easy to make.
- Salted Caramel Kentucky Butter Cake if you love buttery cake with sweet caramel notes.
- Butter Pecan Ice Cream Recipe for a cool and creamy dessert to pair with cookie treats.
Save This Pin + Share Your Results
📌 Save this recipe to your Pinterest dessert board so you can come back to it anytime.
When you make these Oreo Sushi Rolls, I would love to hear how they turned out. Did you go with caramel drizzle, chocolate drizzle, or both? Did you add extra cookie crumbs or keep them simple and clean?
Share your results and favorite twists in the comments. For more fun dessert inspiration and daily recipe ideas, follow Life with Jam on Pinterest.
Oreo Sushi Rolls
- Total Time: 1 hour 20 minutes
- Yield: 8 servings
- Diet: Vegetarian
Description
These Oreo Sushi Rolls are a fun, easy recipe that turns classic cookies and cream flavor into a playful no-bake dessert everyone wants to try. With a soft Oreo cookie layer wrapped around a creamy cheesecake-style filling, this sweet treat is perfect for party dessert ideas, holiday dessert boards, easy recipe nights, and fun food ideas when you want something different.
Ingredients
24 Oreo cookies
4 tablespoons milk
8 ounces cream cheese, softened
1 cup powdered sugar
1 cup whipped topping
4 crushed Oreo cookies
1/4 cup caramel sauce
6 mini Oreo cookies
1/2 cup whipped topping, for garnish
Instructions
1. Crush the 24 Oreo cookies into very fine crumbs using a food processor or a sealed bag and rolling pin.
2. Mix the Oreo crumbs with the milk until the mixture becomes soft and moldable like dough.
3. Place the Oreo mixture between two sheets of parchment paper and roll it into a rectangle about 1/4 inch thick.
4. In a medium bowl, beat the softened cream cheese and powdered sugar until smooth.
5. Fold in 1 cup whipped topping and the 4 crushed Oreo cookies until the filling is creamy and evenly mixed.
6. Spread the filling evenly over the Oreo layer, leaving a small border around the edges.
7. Starting from one long side, gently roll the dessert into a tight log, using the parchment paper to help shape it.
8. Wrap the roll and chill it in the refrigerator for at least 1 hour until firm.
9. Slice into rounds and top with 1/2 cup whipped topping, caramel sauce, and mini Oreo cookies before serving.
Notes
Chill the roll well before slicing so the rounds stay neat and hold their shape.
Use softened cream cheese for the smoothest filling without lumps.
Wipe the knife between slices for cleaner, prettier pieces.
- Prep Time: 20 minutes
- Cook Time: 0 minutes
- Category: Dessert
- Method: No-Bake
- Cuisine: American
Nutrition
- Serving Size: 1 serving
- Calories: 320
- Sugar: 25g
- Sodium: 210mg
- Fat: 18g
- Saturated Fat: 8g
- Unsaturated Fat: 8g
- Trans Fat: 0g
- Carbohydrates: 38g
- Fiber: 1g
- Protein: 3g
- Cholesterol: 25mg