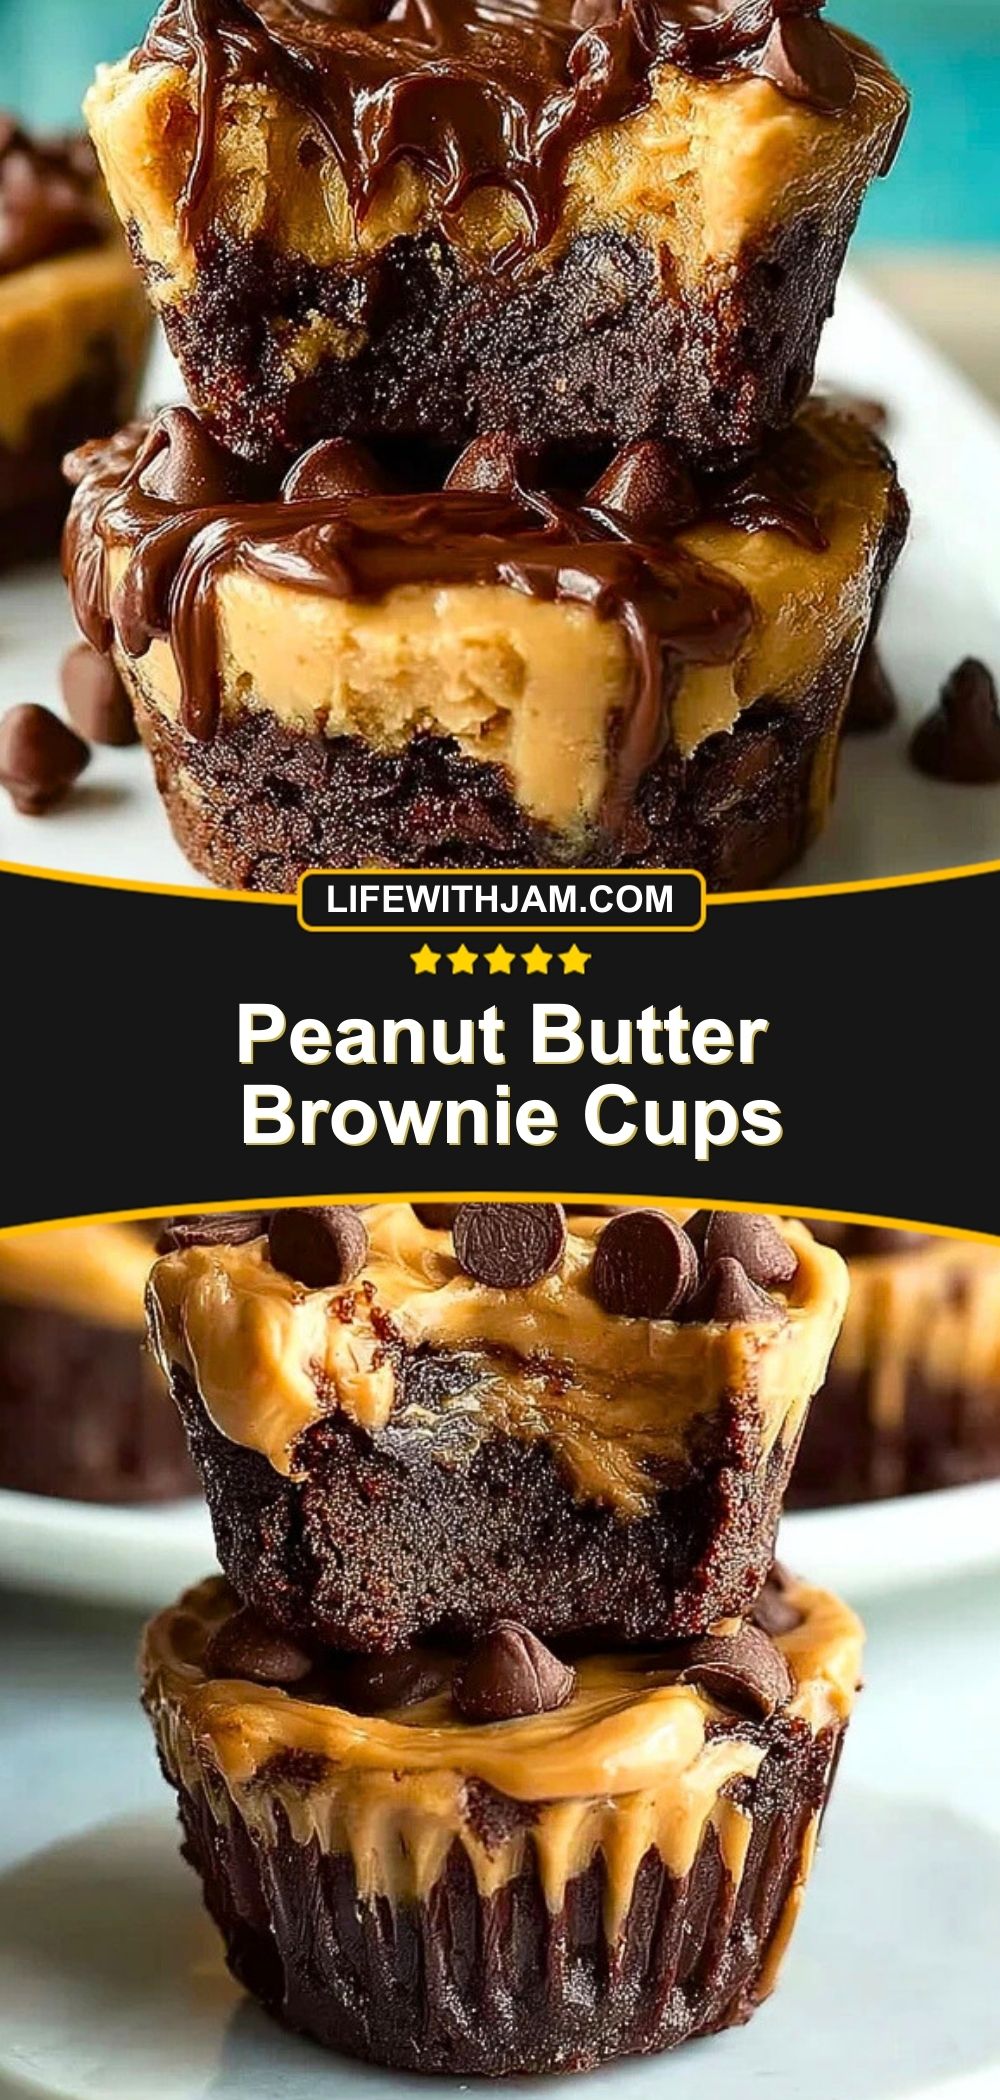
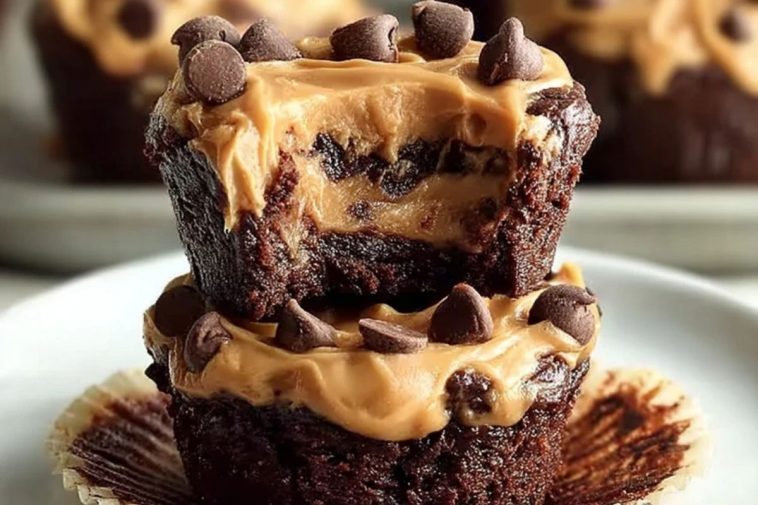

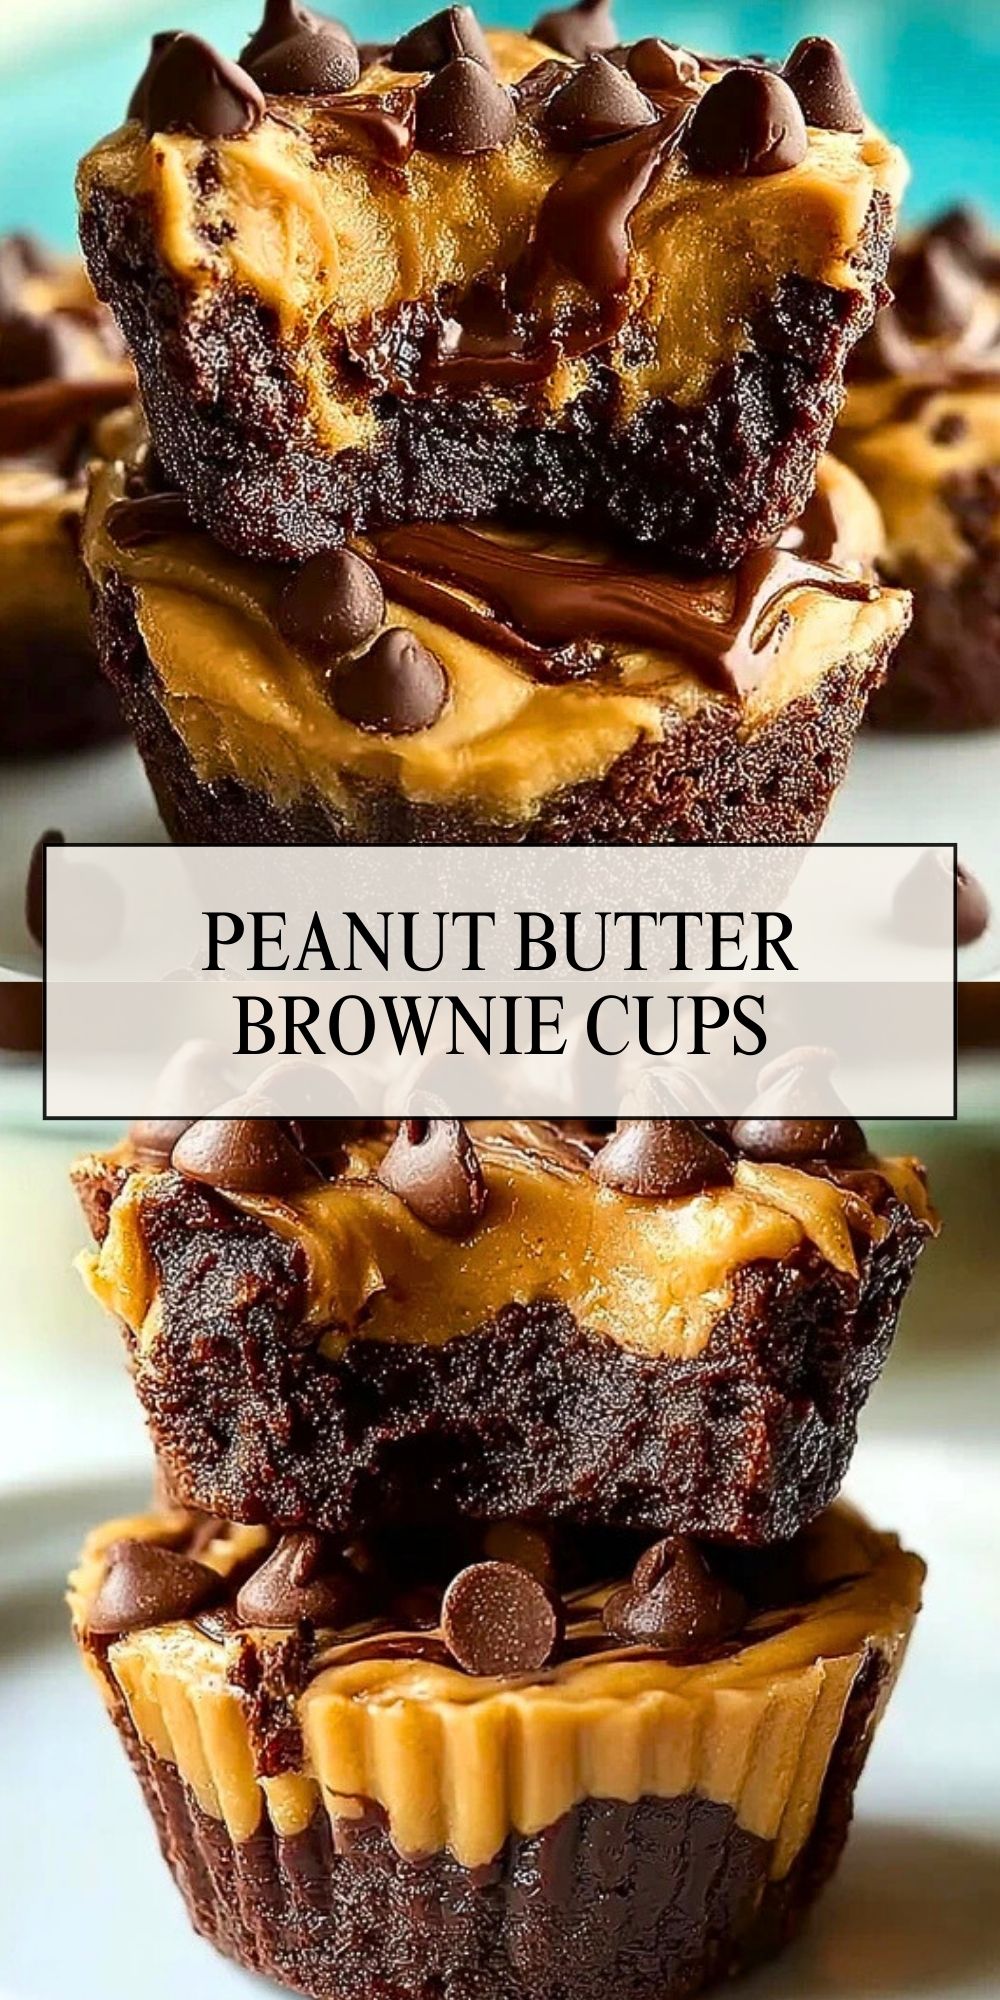
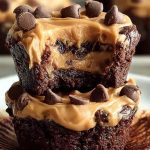
These Peanut Butter Brownie Cups are pure indulgence in a bite-sized form. With a fudgy brownie base, a creamy peanut butter topping, and a sprinkle of chocolate chips, they strike the perfect balance between rich and sweet. Whether you need a quick dessert for a party or a cozy treat with coffee, these little cups deliver maximum flavor with minimal effort.
The best part? They come together using pantry staples and a muffin tin. Each bite has the dense texture of a brownie, a smooth, nutty layer on top, and melty chocolate that makes it hard to stop at just one. They look bakery-fancy but are incredibly simple to make at home.
What Kind of Peanut Butter Should I Use?
For the silkiest texture, creamy peanut butter is ideal—especially a no-stir, shelf-stable kind like Jif or Skippy. Natural peanut butters can separate and create a grainy topping. If you love texture and want more peanut flavor, crunchy peanut butter is a fun twist but may make the topping thicker.


Ingredients for the Peanut Butter Brownie Cups
Brownie Mix or Homemade Brownie Batter – The base of the cup, this gives the rich, fudgy texture. You can use your favorite boxed brownie mix or a simple scratch-made version.
Creamy Peanut Butter – Adds that irresistible nutty, creamy layer on top. Be sure it’s smooth for the best contrast with the brownie.
Semi-Sweet Chocolate Chips – These melt slightly into the peanut butter layer and give a little texture and richness.
Butter (if making brownies from scratch) – Enhances the depth and moisture of your brownie base.
Eggs – Provide structure and stability to the brownie cups.
All-Purpose Flour (if not using mix) – Needed if you’re skipping the mix and going homemade.
Sugar (for homemade) – Balances the bitter cocoa in the brownies and enhances sweetness.
Salt – A pinch helps balance the sweetness and sharpens the chocolate flavor.
How To Make the Peanut Butter Brownie Cups
Step 1: Prepare the Brownie Batter
Whether you’re using a boxed mix or making it from scratch, prepare your brownie batter according to package or recipe instructions. If homemade, mix melted butter with sugar, eggs, flour, cocoa powder, and a pinch of salt until smooth and glossy.
Step 2: Fill the Muffin Tin
Grease a mini muffin tin well or line it with paper liners. Spoon the brownie batter into each cup, filling them about 2/3 of the way full. This allows room for the peanut butter topping.
Step 3: Bake the Brownie Cups
Bake in a preheated 350°F (175°C) oven for 12 to 15 minutes if using a mini muffin tin. The tops should be set and crackly, and a toothpick inserted should come out with a few moist crumbs.
Step 4: Add the Peanut Butter Layer
Once out of the oven, immediately press the center of each brownie cup gently with the back of a spoon or small cookie scoop to make a well. While still warm, add about a teaspoon of creamy peanut butter to each center.
Step 5: Sprinkle with Chocolate Chips
While the peanut butter is still soft, sprinkle semi-sweet chocolate chips on top. They will melt slightly and stick to the warm peanut butter.
Step 6: Let Cool and Set
Allow the cups to cool in the pan for 10–15 minutes, then transfer to a wire rack. The peanut butter layer will firm up as they cool. Chill in the fridge for a firmer bite or serve at room temperature for a gooier texture.
How to Serve and Store Peanut Butter Brownie Cups
Peanut Butter Brownie Cups are best served slightly warm or at room temperature. When freshly made, the brownie is gooey, the peanut butter is soft, and the chocolate chips gently melt into the topping. If you prefer a firmer bite, chilling them in the fridge for about 30 minutes gives the peanut butter layer a satisfying texture.
They make perfect single-serve treats for lunchboxes, party trays, or cozy nights in with a cup of coffee. Pair with a scoop of vanilla ice cream or a drizzle of warm chocolate sauce for a dressed-up dessert moment.
To store, place cooled cups in an airtight container. They’ll keep at room temperature for up to 3 days or in the refrigerator for up to a week. For longer storage, freeze them in a single layer and transfer to a freezer bag—just thaw and enjoy when cravings hit!
Frequently Asked Questions
Can I make these with a different nut butter?
Yes! Almond butter or cashew butter both work well. Just make sure they’re creamy and not too oily for the best texture.
Can I use a regular muffin tin instead of mini?
You can. Just increase the baking time to around 18–20 minutes, and make sure not to overfill. You’ll get fewer, but larger brownie cups.
How do I keep the peanut butter from getting oily?
Stick to a no-stir peanut butter brand. Natural kinds tend to separate more during baking or cooling.
Can these be made dairy-free?
Absolutely! Use a dairy-free brownie base and plant-based butter and chocolate chips. Make sure your peanut butter is dairy-free too.
Do I need to refrigerate them?
Not required unless you want a firmer peanut butter layer or need to store them beyond a few days. Room temp is perfectly fine for short-term.
Can I double the recipe?
Yes—and you’ll probably want to! These disappear fast, especially at parties or bake sales.
Want More Dessert Ideas with a Twist?
If you love these Peanut Butter Brownie Cups, you’ll want to explore more of our decadent, creative sweet treats:
- Caramel Cheesecake Cookies for a gooey, tangy center wrapped in caramel.
- Condensed Milk Snow Cookies if you’re into melt-in-your-mouth holiday bakes.
- Chocolate Instant Pudding for a silky, no-bake chocolate fix.
- Brown Butter Dulce de Leche Rice Krispie Treats that bring a nutty, caramel flavor.
- Lemon Raspberry Swirl Cheesecake Cups for fruity, zesty indulgence.
Whether you’re team chocolate, caramel, or citrus, Life With Jam has a dessert to match every craving.
Save This Pin + Share Your Results
📌 Save this recipe to your Pinterest dessert board so you can come back to it any time: Life With Jam Pinterest.
Tried it and loved it? Let me know in the comments! Did you switch up the nut butter, or add a sprinkle of sea salt on top? I’m always excited to see how you make these your own. Got questions? Leave those too—we bake better together.
Peanut Butter Brownie Cups
- Total Time: 25 minutes
- Yield: 24 mini brownie cups
- Diet: Vegetarian
Description
These Peanut Butter Brownie Cups are rich, fudgy bites topped with creamy peanut butter and melty chocolate chips. They’re simple to make in a muffin tin and perfect for parties, gifting, or indulging on your own. A heavenly mix of chocolate and peanut butter in every bite!
Ingredients
1 box brownie mix (or homemade equivalent)
2 large eggs
1/2 cup melted butter (if making from scratch)
3/4 cup all-purpose flour (for homemade)
1 cup granulated sugar (for homemade)
1/4 teaspoon salt
3/4 cup creamy peanut butter
1/2 cup semi-sweet chocolate chips
Instructions
1. Preheat the oven to 350°F (175°C) and grease a mini muffin tin or line with paper liners.
2. Prepare brownie batter according to box directions or mix melted butter, sugar, eggs, flour, cocoa powder, and salt for homemade.
3. Fill each muffin cup 2/3 full with brownie batter.
4. Bake for 12–15 minutes, until tops are set and a toothpick comes out with moist crumbs.
5. Immediately after baking, press the center of each brownie cup to form a small well.
6. Add 1 teaspoon of creamy peanut butter to each center while brownies are still warm.
7. Sprinkle chocolate chips over the peanut butter while it’s soft.
8. Let cups cool in the pan for 10–15 minutes, then transfer to a wire rack.
9. Serve warm for gooey texture or chill for a firmer bite.
Notes
Use creamy, no-stir peanut butter for best texture and layering.
For a gooey finish, serve at room temperature. For a firm bite, chill before serving.
Don’t overbake—check for moist crumbs, not a clean toothpick.
- Prep Time: 10 minutes
- Cook Time: 15 minutes
- Category: Dessert
- Method: Baking
- Cuisine: American
Nutrition
- Serving Size: 1 brownie cup
- Calories: 180
- Sugar: 12g
- Sodium: 95mg
- Fat: 10g
- Saturated Fat: 4g
- Unsaturated Fat: 5g
- Trans Fat: 0g
- Carbohydrates: 21g
- Fiber: 1g
- Protein: 3g
- Cholesterol: 20mg