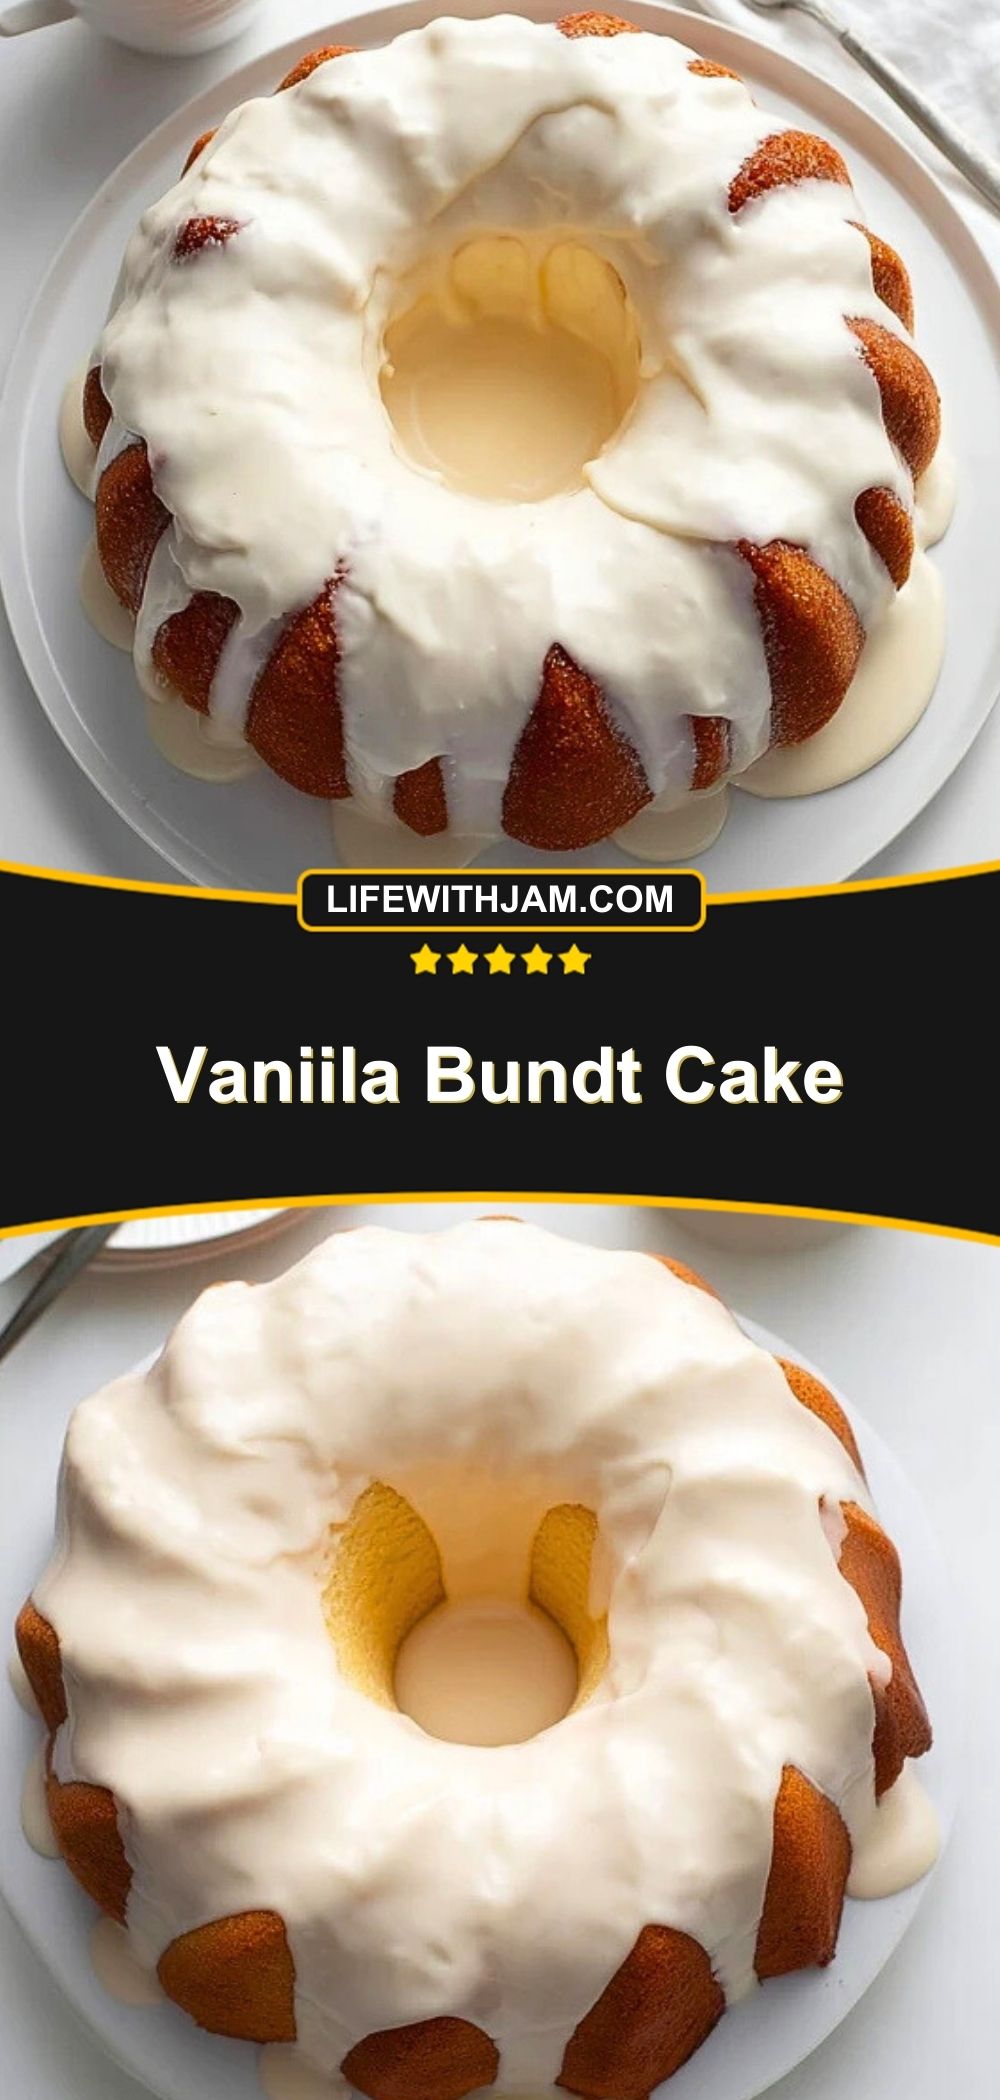
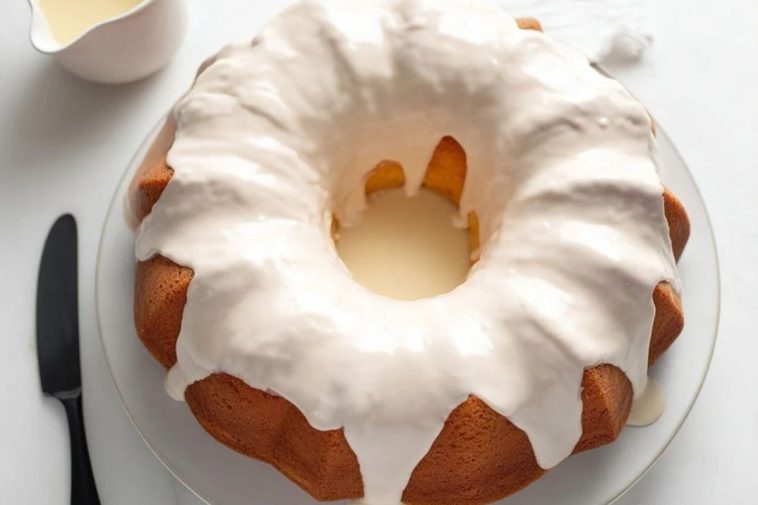
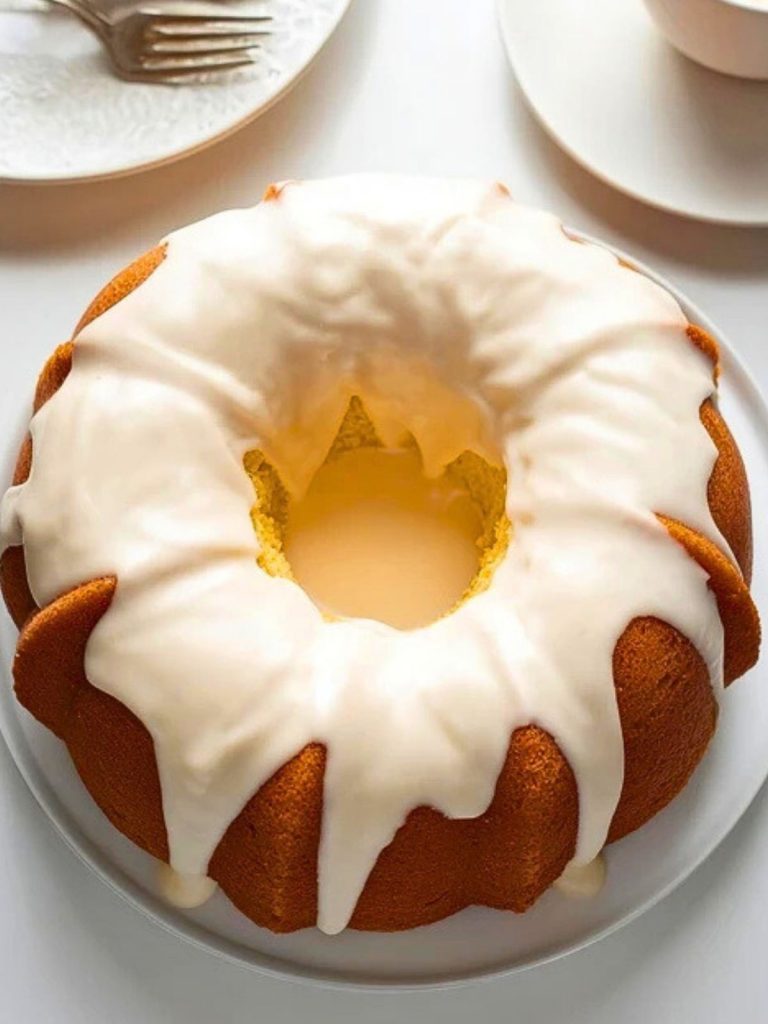
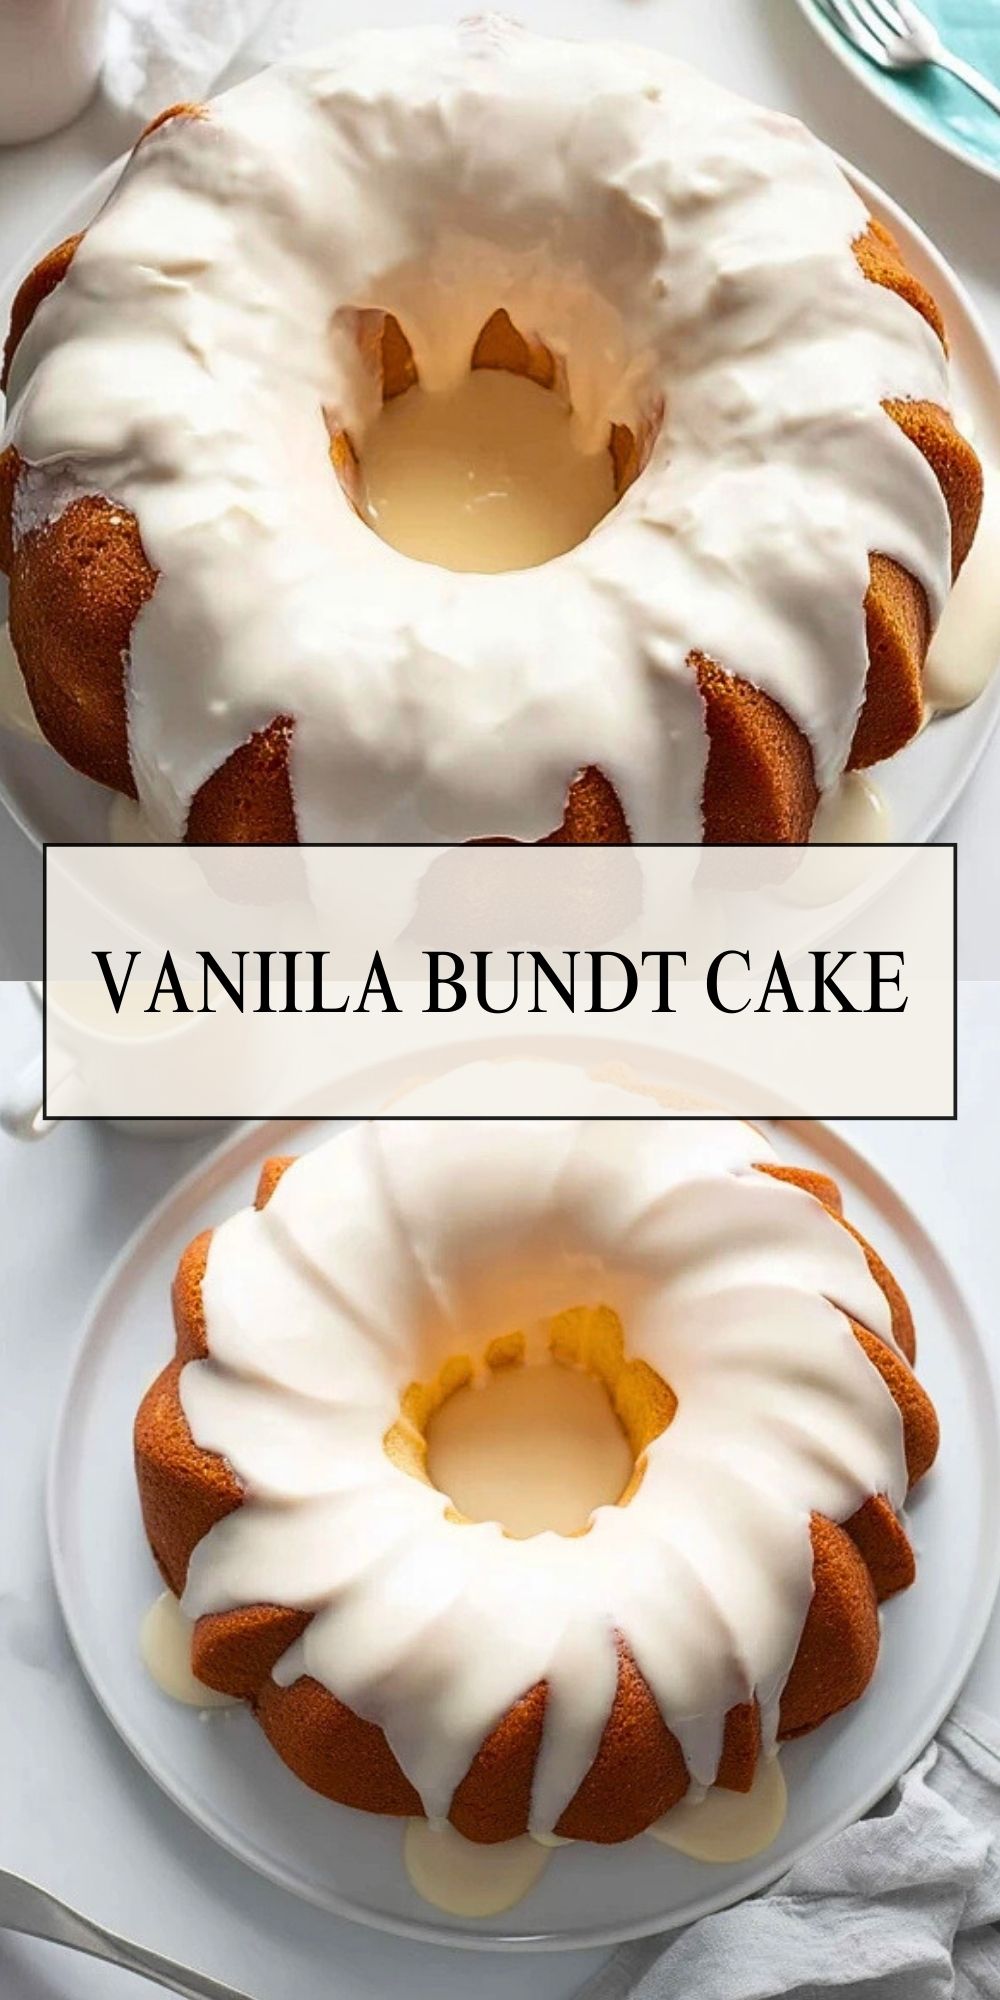
Buttery, tender, and perfectly golden, this Vanilla Bundt Cake is a timeless dessert that feels like a warm hug in cake form. With its sweet vanilla aroma and rich, velvety crumb, it makes an elegant centerpiece for brunches, tea times, or holiday tables. Whether you dress it up with fresh berries or keep it classic with a thick layer of vanilla glaze, this cake knows how to steal the show.
What sets this cake apart is its simplicity—both in flavor and preparation. You don’t need fancy ingredients or complicated steps to make something special. A handful of pantry staples, a Bundt pan, and a generous splash of good vanilla extract are all it takes to create this stunning and delicious treat.
What Kind of Vanilla Should I Use?
Since vanilla is the star of the show here, using a high-quality pure vanilla extract (or vanilla bean paste, if you’re feeling extra indulgent) makes all the difference. Avoid artificial vanilla flavoring; it simply can’t compete with the depth and warmth of real vanilla. Madagascar or Tahitian vanilla are excellent choices for their floral and creamy profiles.

Ingredients for the Vanilla Bundt Cake
All-purpose flour
Provides structure and helps the cake hold its beautiful shape in the Bundt pan.
Granulated sugar
Adds sweetness and contributes to the tender crumb of the cake.
Unsalted butter
Gives the cake richness and a velvety texture. Let it soften at room temperature for easier mixing.
Eggs
Essential for binding and adding moisture. They also help the cake rise and give it structure.
Sour cream
The secret to an ultra-moist cake with a slight tang to balance the sweetness.
Whole milk
Thins out the batter just enough to make it pourable without compromising richness.
Pure vanilla extract
Delivers that iconic, warm, sweet flavor that defines this cake.
Baking powder & baking soda
Ensure the cake rises evenly and has a light, airy crumb.
Salt
Balances out the sweetness and enhances the vanilla flavor.
How To Make the Vanilla Bundt Cake
Step 1: Preheat and Prepare the Pan
Start by preheating your oven to 350°F (175°C). Generously grease a 10- or 12-cup Bundt pan with butter or non-stick baking spray, making sure to get into every nook and cranny. Lightly dust it with flour to ensure the cake releases cleanly.
Step 2: Cream the Butter and Sugar
In a large mixing bowl, cream together the softened butter and granulated sugar until light and fluffy. This step is key for a soft and airy cake texture, so beat for a full 3-5 minutes if using an electric mixer.
Step 3: Add the Eggs and Vanilla
Beat in the eggs one at a time, mixing well after each addition. Stir in the pure vanilla extract and mix until fully incorporated.
Step 4: Combine the Dry Ingredients
In a separate bowl, whisk together the flour, baking powder, baking soda, and salt. This ensures even distribution of the leavening agents.
Step 5: Mix Wet and Dry Alternately
Add the dry ingredients to the butter mixture in three parts, alternating with the sour cream and milk. Start and end with the dry ingredients, mixing just until combined. Be careful not to overmix, which can lead to a dense cake.
Step 6: Pour and Smooth the Batter
Pour the batter into the prepared Bundt pan, smoothing the top with a spatula. Give the pan a few gentle taps on the counter to release any trapped air bubbles.
Step 7: Bake and Cool
Bake for 45-55 minutes, or until a toothpick inserted into the thickest part of the cake comes out clean. Let the cake cool in the pan for 15 minutes before inverting it onto a wire rack to cool completely.
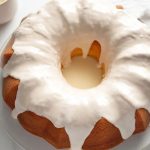
Step 8: Glaze and Serve
Once the cake is fully cooled, drizzle it generously with a vanilla glaze made from powdered sugar, milk, and vanilla extract. Let the glaze set before slicing and serving.
Serving and Storing Your Vanilla Bundt Cake
This Vanilla Bundt Cake is versatile enough to be served at any time of day. Slice it thick and enjoy with a hot cup of coffee in the morning or pair it with whipped cream and berries for a satisfying dessert. It’s also a beautiful option for special occasions, offering a classic, elegant finish to your table.
To store, keep the cake covered at room temperature for up to 3 days. For longer storage, wrap it tightly in plastic wrap and refrigerate for up to a week. You can also freeze the cake (unglazed) for up to 2 months—just let it thaw overnight in the fridge before bringing it to room temperature and glazing.
Frequently Asked Questions
How do I prevent my Bundt cake from sticking to the pan?
Greasing and flouring your pan thoroughly is key. A baking spray with flour is your best friend. Make sure you let the cake cool for 15 minutes before trying to release it.
Can I use yogurt instead of sour cream?
Yes, full-fat Greek yogurt is a great substitute. It will give a similar tang and moistness to the cake.
What’s the best glaze for this cake?
A simple vanilla glaze made with powdered sugar, milk, and a touch of vanilla extract complements the cake perfectly. You can also add a squeeze of lemon juice for a brighter flavor.
Can I add mix-ins like chocolate chips or fruit?
Absolutely! Mini chocolate chips, lemon zest, or even berries can be folded into the batter before baking. Just toss them in a bit of flour to prevent sinking.
How do I know when the cake is done baking?
Use the toothpick test—insert one into the center of the cake. If it comes out clean or with a few crumbs (not wet batter), it’s done.
Can I make this cake in advance?
Definitely. This cake actually tastes better the next day as the flavors settle and deepen. Just be sure to wrap it well to keep it fresh.
Want More Cake Ideas with a Twist?
If you love this Vanilla Bundt Cake, here are a few more cake-inspired recipes from Life with Jam that bring their own unique flair:
- Old-Fashioned Egg Custard Pie for a creamy, nostalgic dessert that melts in your mouth.
- Salted Caramel Kentucky Butter Cake if you crave sweet meets salty in buttery richness.
- Mini Lemon Bundt Cakes for a citrusy twist in an adorable, shareable form.
- Easy Cream Puff Cake when you want all the flavor of cream puffs with none of the fuss.
- Bonnies Blue Ribbon Chocolate Dream Cake if you’re in the mood for a chocolate-forward showstopper.
Save This Pin + Share Your Results
📌 Save this recipe to your Pinterest dessert board so you can come back to it anytime: Life with Jam on Pinterest
And I’d love to hear how your cake turned out! Did you use sour cream or try it with yogurt? Add a little lemon or chocolate? Tell us in the comments below and feel free to ask questions, too. Let’s bake better together!
Vanilla Bundt Cake
- Total Time: 45 minutes
- Yield: 20 truffles
- Diet: Vegetarian
Description
These No Bake Caramel Crunch Butterfinger Truffles are the ultimate indulgent treat—featuring a soft caramel center, a crunchy Butterfinger coating, and a rich chocolate shell. Perfect for gifting, parties, or a sweet snack from the fridge.
Ingredients
12 fun-size Butterfinger candy bars
20 soft caramels (like Werther’s or Kraft)
2 tablespoons heavy cream
1 cup semi-sweet chocolate chips (or melting wafers)
1⁄4 cup crushed graham crackers or cookies (optional, for garnish)
Instructions
1. Place the Butterfinger bars in a sealed plastic bag and crush with a rolling pin into small and fine bits.
2. In a microwave-safe bowl, combine the soft caramels and heavy cream. Microwave in 30-second intervals, stirring each time, until smooth and melted.
3. Scoop teaspoons of melted caramel onto a parchment-lined tray. Freeze for 10–15 minutes until firm.
4. Take each caramel mound and coat in crushed Butterfinger crumbs. Form into a ball with your hands. Return to freezer for 10 more minutes.
5. Melt the chocolate in a microwave-safe bowl, stirring until smooth. Dip each truffle using a fork, tapping off the excess chocolate.
6. Place dipped truffles on parchment and sprinkle with additional Butterfinger or crushed cookies if desired.
7. Chill in the fridge for 15 minutes until set. Serve slightly chilled.
Notes
For easier dipping, keep truffles chilled until right before coating in chocolate.
You can substitute the Butterfinger crumbs with toffee bits or peanut-free crunchy candy if needed.
Add a pinch of sea salt to the caramel before freezing for a salted caramel twist.
- Prep Time: 20 minutes
- Cook Time: 25 minutes
- Category: Dessert
- Method: No Bake
- Cuisine: American
Nutrition
- Serving Size: 1 truffle
- Calories: 145
- Sugar: 14g
- Sodium: 65mg
- Fat: 8g
- Saturated Fat: 4.5g
- Unsaturated Fat: 3g
- Trans Fat: 0g
- Carbohydrates: 18g
- Fiber: 0.5g
- Protein: 1g
- Cholesterol: 5mg