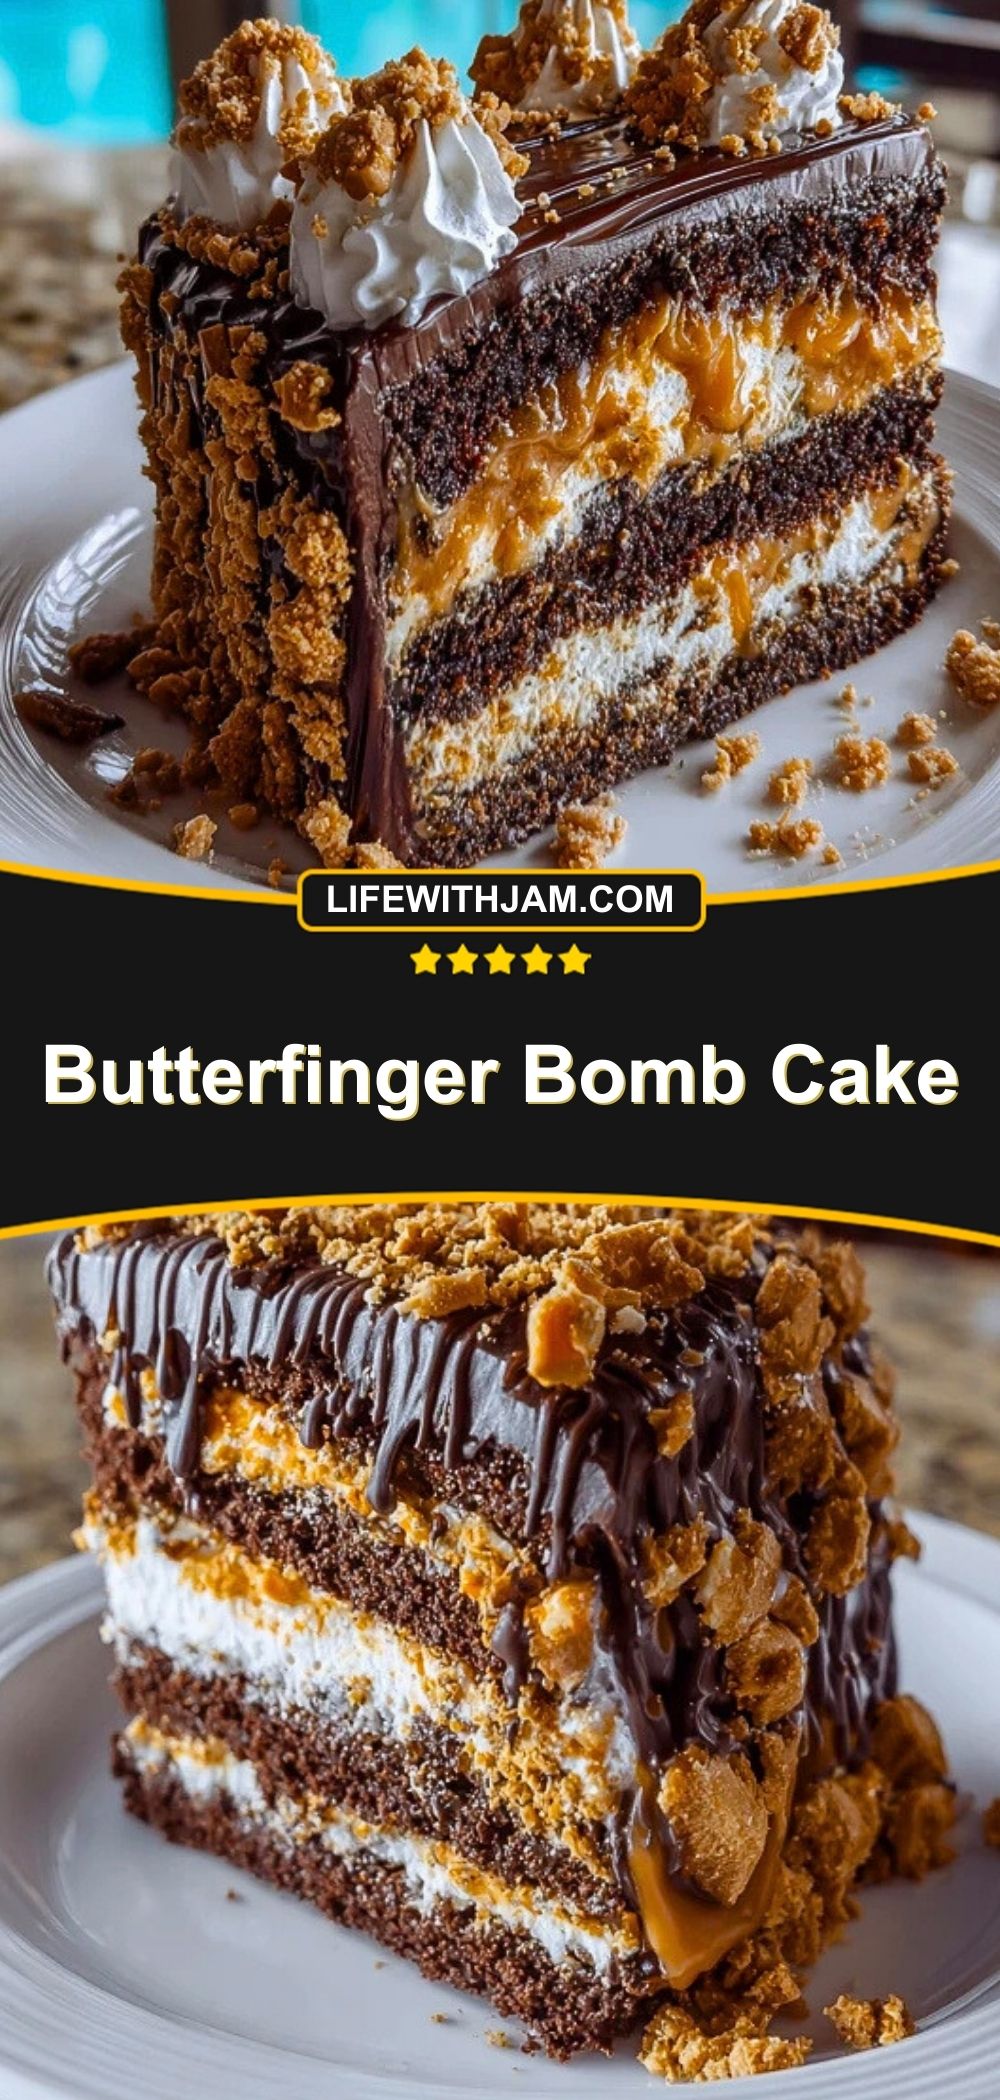
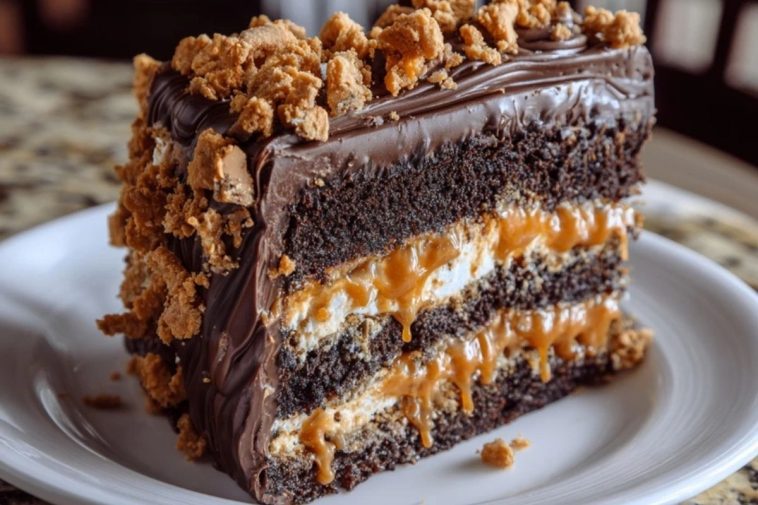
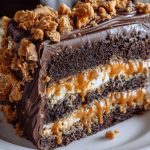
Every once in a while, a dessert comes along that completely takes over your taste buds and doesn’t ask for forgiveness. That’s exactly what this Butterfinger Bomb Cake does. With its decadent layers of moist chocolate cake, gooey caramel, fluffy whipped topping, and a crunchy Butterfinger candy explosion on top, it’s indulgent in the best way. Each bite is a rich, buttery, crispy, creamy experience that somehow gets better with every forkful.
This cake is a celebration centerpiece, a potluck showstopper, and the ultimate sweet treat for anyone who can’t resist the iconic flavor of Butterfinger candy bars. It’s perfect for birthdays, holidays, or just because you’re craving something extraordinary. And the best part? It comes together surprisingly easily for a dessert that looks this impressive.
What Kind of Cake Should I Use for Butterfinger Bomb Cake?
A dark, moist chocolate cake is the best base for Butterfinger Bomb Cake. You can make it from scratch or use a high-quality boxed mix to save time. The chocolate brings deep richness that balances the sweet caramel and peanut buttery crunch of the candy topping. Don’t overthink it—what matters most is that your cake layers are moist and sturdy enough to hold the dreamy layers of topping.


Ingredients for the Butterfinger Bomb Cake
Chocolate Cake Layers
You’ll need two 9-inch round chocolate cakes. Whether you bake them from scratch or use a boxed mix, the rich chocolate flavor is essential to support all the gooey, creamy, and crunchy textures that come next.
Caramel Sauce
A thick caramel sauce adds that unmistakable sticky-sweet layer between the cake and whipped topping. You can use store-bought or homemade, just make sure it’s not too runny.
Whipped Topping
Fluffy, airy whipped topping adds lightness that contrasts beautifully with the dense cake and crunchy candy. It helps tie all the layers together.
Butterfinger Candy Bars
Chopped Butterfinger bars are the star of this dessert. Their peanut buttery crunch and toffee-like sweetness bring texture and signature flavor. Use plenty for the top and between the layers.
Chocolate Ganache or Drizzle
A drizzle of melted chocolate or a smooth ganache gives this cake its bakery-style finishing touch. It enhances the chocolate flavor and gives a glossy look that screams “eat me.”
How To Make the Butterfinger Bomb Cake
Step 1: Bake the Chocolate Cake Layers
Prepare two 9-inch round chocolate cakes using your favorite recipe or a boxed mix. Let the cakes cool completely before assembling to prevent the whipped topping and caramel from melting.
Step 2: Level and Layer
If needed, level your cakes by trimming the tops to create flat surfaces. Place the first cake layer on a serving plate or cake stand.
Step 3: Add the Caramel
Spread a generous layer of thick caramel sauce over the top of the first cake layer. This creates a sweet, sticky base for the whipped topping and helps soak into the cake for extra moisture.
Step 4: Add Whipped Topping and Crushed Butterfingers
Gently spread a thick layer of whipped topping over the caramel. Sprinkle a hefty handful of chopped Butterfinger bars over the whipped layer, pressing slightly so they stay in place.
Step 5: Repeat Layers
Place the second cake layer on top. Repeat with caramel sauce, more whipped topping, and additional chopped Butterfingers. Be generous—this is what gives the cake its over-the-top personality.
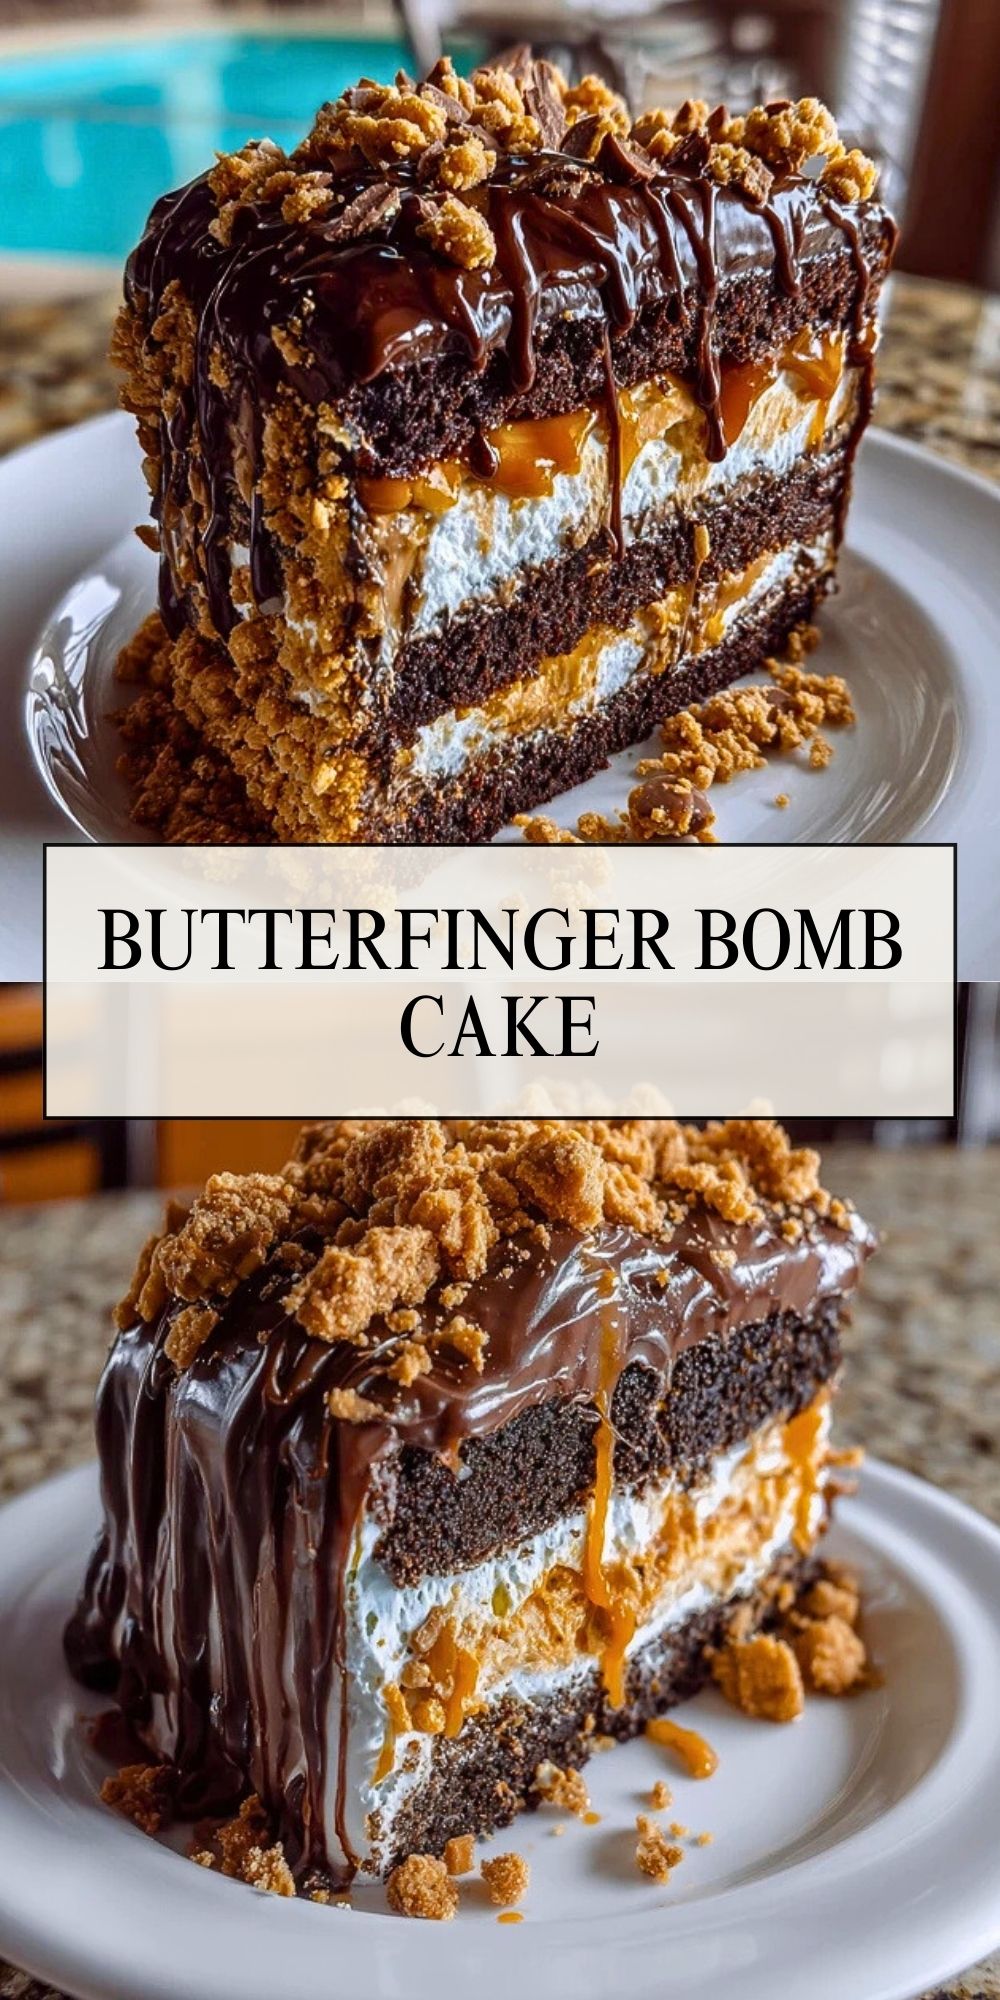
Step 6: Drizzle with Chocolate
Melt some chocolate chips or prepare a quick ganache. Drizzle over the top of the cake for a gorgeous, glossy finish. Let it drip down the sides for that bakery-style flair.
Step 7: Chill and Set
Refrigerate the finished cake for at least 1 hour before slicing. This helps the layers firm up and makes it easier to cut clean slices.
How to Serve and Store Butterfinger Bomb Cake
Serve the Butterfinger Bomb Cake chilled for the best texture. The whipped topping holds its shape better and the caramel firms up just enough to create clean, beautiful slices. Use a sharp knife and wipe it clean between cuts for neat layers.
This cake is ideal for parties or potlucks because it can be made a day ahead. Store it in the refrigerator in an airtight container or covered with plastic wrap. It stays delicious for up to 4 days, although the Butterfinger topping will begin to soften slightly after the second day. For the crunchiest texture, add a fresh sprinkle of crushed Butterfinger just before serving.
Freezing isn’t recommended for this dessert because the whipped topping and caramel layers don’t thaw well.
Frequently Asked Questions
What kind of caramel works best?
Use a thick, high-quality caramel sauce that won’t run too much once layered. Homemade is great, but store-bought works too as long as it’s rich and not watery.
Can I use a different candy bar?
Sure! While Butterfingers are the classic choice, you can experiment with other crunchy bars like Heath, Reese’s, or even Kit Kat for a fun twist.
Can I use fresh whipped cream instead of store-bought topping?
Absolutely. Just make sure your whipped cream is stabilized (with gelatin or powdered sugar) so it holds up well in the fridge.
How far ahead can I make this cake?
You can assemble it up to 24 hours ahead. The flavors meld beautifully overnight. Just keep it covered in the fridge until you’re ready to serve.
How do I crush Butterfinger bars without making a mess?
Place them in a sealed plastic bag and use a rolling pin or mallet to crush. This keeps the mess contained and gives you control over the texture—crumbly or chunky.
What if my cake turns out uneven?
No worries—a little whipped topping and a heavy hand with the crushed candy on top will cover up any imperfections.
Want More Cake Ideas with a Candy Twist?
If this Butterfinger Bomb Cake hits your sweet spot, you’ll love these other bold and playful treats:
• Caramel Cheesecake Cookies for gooey bites in cookie form.
• Strawberry Cheesecake Poke Cake that soaks in flavor with every slice.
• Chocolate Instant Pudding for an ultra-smooth, chocolatey companion.
• Bonnies Blue Ribbon Chocolate Dream Cake if you want another showstopper centerpiece.
• Cherry Cheesecake Puppy Chow for a no-bake treat that delivers crunch and creaminess.
Save This Pin + Share Your Results
📌 Save this Butterfinger Bomb Cake recipe to your Pinterest dessert board so it’s always just a click away: Follow my Pinterest here
If you give this cake a try, leave a comment and tell me how it turned out! Did you switch up the candy bar or layer in extra chocolate?
Your feedback always inspires delicious new ideas. Let’s help each other create desserts that are as fun to make as they are to eat.
Butterfinger Bomb Cake
- Total Time: 55 minutes
- Yield: 12 servings
- Diet: Vegetarian
Description
This Butterfinger Bomb Cake is a showstopping dessert layered with rich chocolate cake, gooey caramel, fluffy whipped topping, and crushed Butterfinger candy bars. It’s a perfect blend of creamy, crunchy, and chocolatey—an easy yet impressive treat that’s perfect for any celebration.
Ingredients
2 9-inch round chocolate cake layers
1 cup thick caramel sauce
3 cups whipped topping
6 Butterfinger candy bars, chopped
1 cup chocolate chips or ganache for drizzling
Instructions
1. Prepare two 9-inch round chocolate cakes and let them cool completely.
2. Level the cake layers if needed and place the first one on a serving plate.
3. Spread a generous layer of caramel sauce over the first cake layer.
4. Add a thick layer of whipped topping on top of the caramel.
5. Sprinkle half of the chopped Butterfingers over the whipped topping and press gently.
6. Add the second cake layer and repeat with caramel, whipped topping, and chopped Butterfingers.
7. Drizzle melted chocolate or ganache over the top and allow it to drip down the sides.
8. Chill in the fridge for at least 1 hour before serving.
Notes
Crush Butterfinger bars in a sealed plastic bag with a rolling pin for easy cleanup.
For the cleanest slices, chill the cake for at least one hour before serving.
Add extra Butterfinger crumbs just before serving for crunchier texture.
- Prep Time: 25 minutes
- Cook Time: 30 minutes
- Category: Dessert
- Method: Assembled / Chilled
- Cuisine: American
Nutrition
- Serving Size: 1 slice
- Calories: 520
- Sugar: 42g
- Sodium: 290mg
- Fat: 28g
- Saturated Fat: 13g
- Unsaturated Fat: 13g
- Trans Fat: 0g
- Carbohydrates: 66g
- Fiber: 2g
- Protein: 4g
- Cholesterol: 45mg