
I used to think making crispy fried chicken at home was intimidating. Professional equipment, secret spice blends, mystery techniques that I’d never master.
Then I actually tried it.
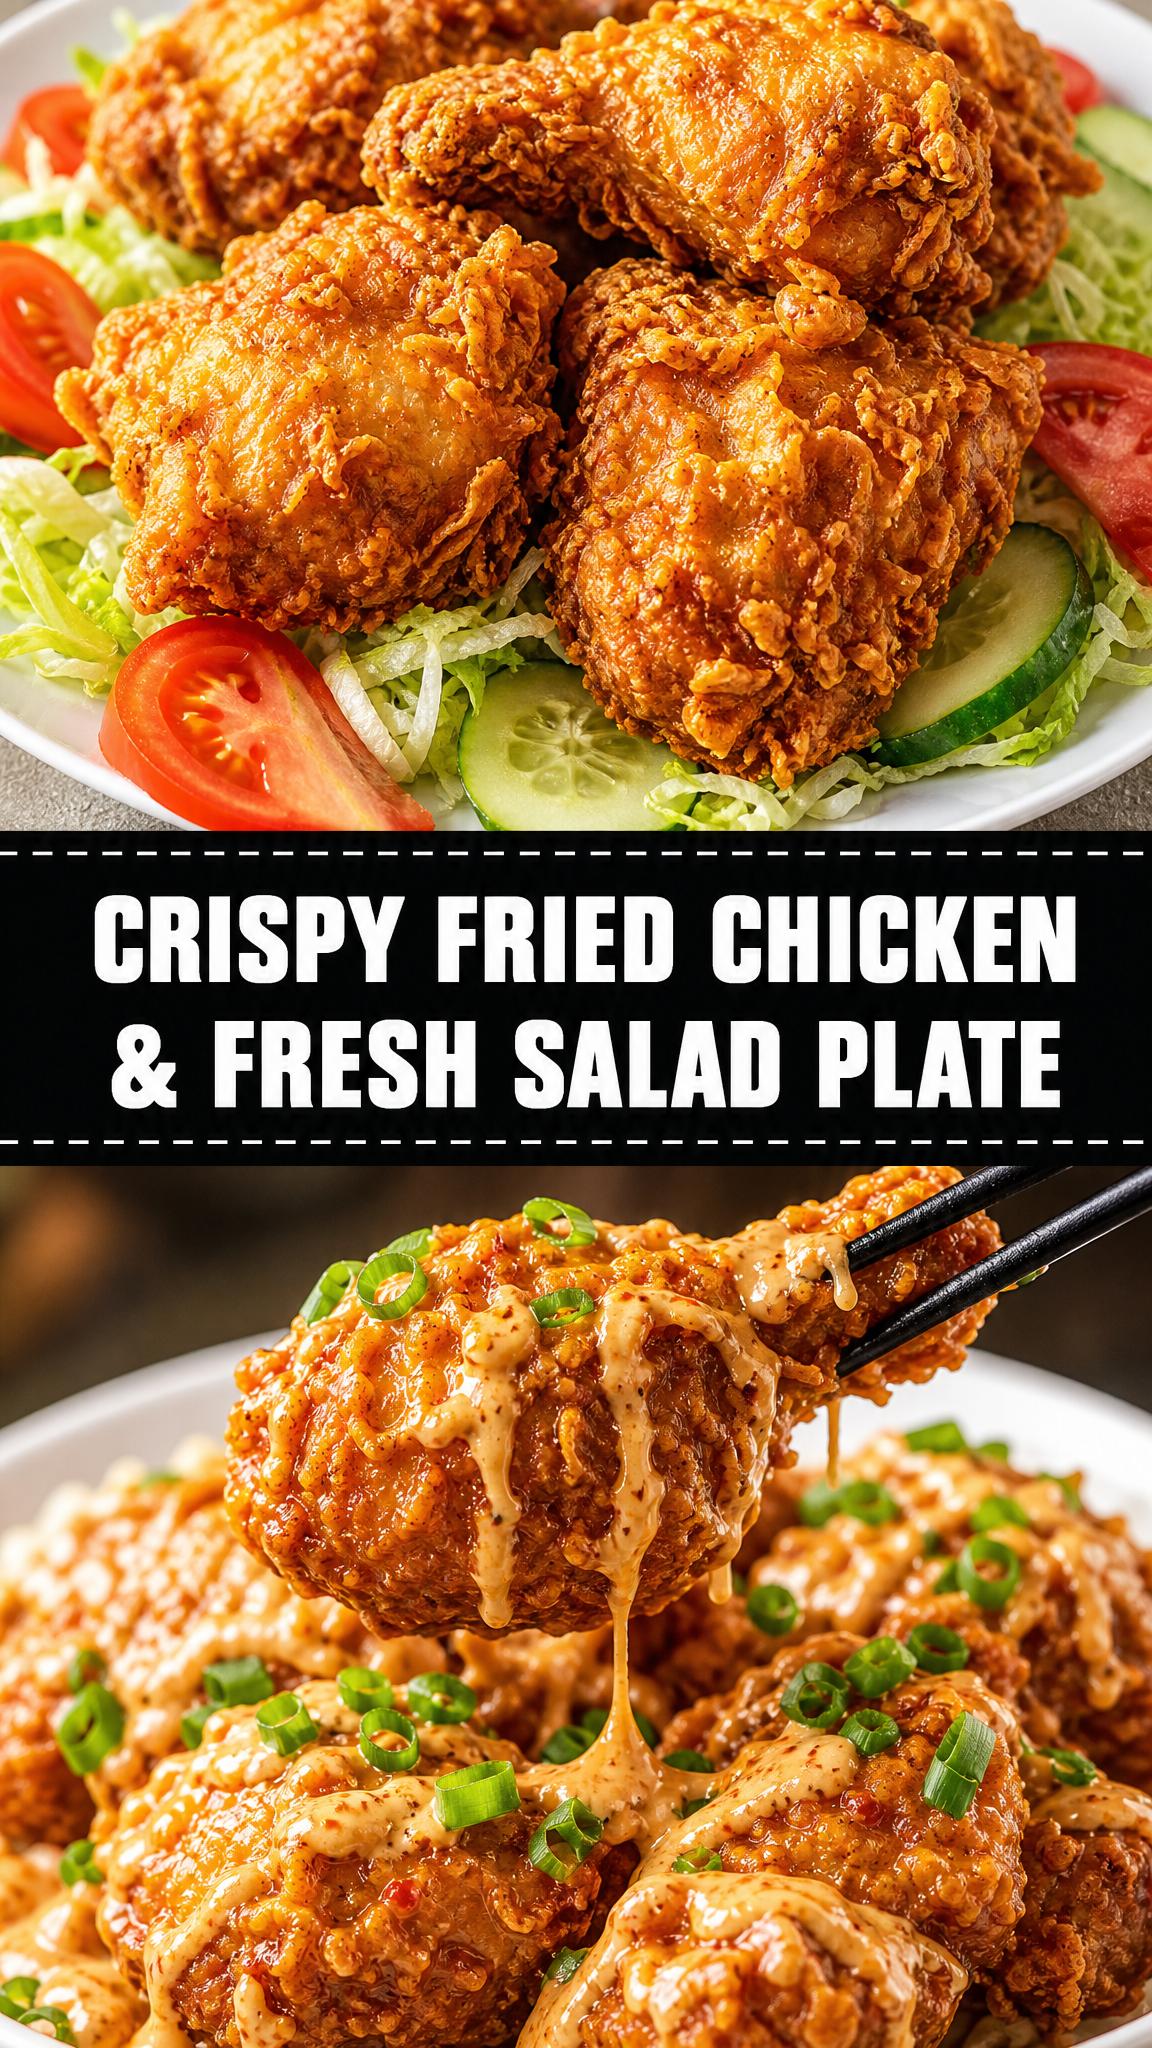
Turns out, restaurant-quality crispy fried chicken is completely doable in your own kitchen with basic pantry ingredients and about 30 minutes of cooking time. The real secret is not a secret at all, just a simple seasoned flour coating and hot oil.
Paired with fresh, cool salad greens, tomatoes, and cucumbers, this plate becomes the perfect balance of comfort and freshness.

Why You Will Love This Crispy Fried Chicken & Fresh Salad Plate
Ingredients
- 6 chicken pieces (drumsticks and thighs)
- 2 cups all-purpose flour
- 2 eggs
- 1 cup buttermilk
- 1 tsp paprika
- 1 tsp garlic powder
- 1 tsp onion powder
- 1 tsp black pepper
- 1 tsp salt
- 0.5 tsp cayenne pepper
- Vegetable oil for frying
- 2 cups lettuce, shredded
- 1 cucumber, sliced
- 2 tomatoes, sliced
Step 1: Make the Buttermilk Marinade and Prepare Chicken
- 2 eggs
- 1 cup buttermilk
- 6 chicken pieces
I like to combine the eggs and buttermilk in a shallow bowl and whisk them together until well blended. This mixture is what’s going to keep your chicken incredibly tender and juicy from the inside while you fry it. Place all your chicken pieces into the bowl, making sure each piece gets fully coated. I tend to let mine sit for at least 10 minutes, though longer (even overnight in the fridge) is even better for flavor development.
Step 2: Mix Your Seasoned Flour Coating
- 2 cups all-purpose flour
- 1 tsp paprika
- 1 tsp garlic powder
- 1 tsp onion powder
- 1 tsp black pepper
- 1 tsp salt
- 0.5 tsp cayenne pepper
While the chicken sits, I combine all the dry ingredients in another shallow bowl. This is where your flavor really comes from, so don’t skip whisking them together evenly. I find that mixing them thoroughly ensures every piece of chicken gets the same balanced seasoning, not just clumps of salt or garlic in one spot.
Step 3: Heat Your Oil to the Right Temperature
- Vegetable oil for frying (about 2 inches deep in your pan)
Pour vegetable oil into a large, deep skillet or Dutch oven to a depth of about 2 inches. I use medium-high heat and let it get hot, but not smoking. The ideal temperature is around 325-350 degrees Fahrenheit. If you don’t have a thermometer, I find that dropping a tiny pinch of flour into the oil and watching it immediately sizzle is a good sign you’re ready.
Step 4: Dredge and Fry Your Chicken
- Buttermilk-coated chicken (from Step 1)
- Seasoned flour mixture (from Step 2)
- Hot oil (from Step 3)
Working one piece at a time, I lift a chicken piece from the buttermilk, letting excess drip off, then place it directly into the seasoned flour. I roll it around until it’s completely covered, making sure to get into all the crevices and underneath any skin. Tap off any excess flour before carefully placing it into the hot oil.
I fry 2-3 pieces at a time, being careful not to crowd the pan. The oil temperature will drop when you add cold chicken, so give it time to recover between batches. Fry for about 12-15 minutes, turning halfway through, until the coating is a deep golden brown and the chicken is cooked through (a meat thermometer should read 165 degrees Fahrenheit at the thickest part).
Step 5: Arrange Your Fresh Salad Base
- 2 cups lettuce, shredded
- 1 cucumber, sliced
- 2 tomatoes, sliced
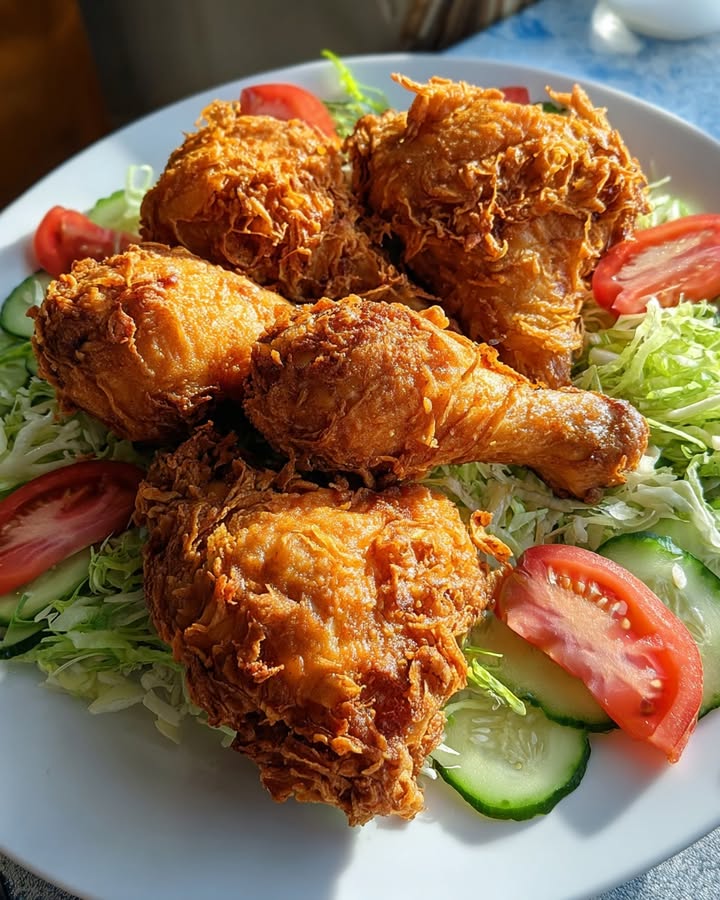
While the chicken finishes frying, I arrange my plate. I spread the shredded lettuce across the center of a white plate as my base layer. Then I arrange the cucumber slices and tomato slices around the edges in alternating pattern. This fresh bed is what makes the dish feel balanced and restaurant-quality.
Step 6: Plate and Serve
- Fried chicken (from Step 4)
I transfer the hot, crispy chicken pieces onto the fresh salad immediately after they come out of the oil. The contrast between the warm, crunchy chicken and the cool, crisp vegetables is exactly what makes this dish so satisfying. Serve immediately while everything is at its best temperature.
Storage Instructions
Store: Keep leftover fried chicken in an airtight container in the refrigerator for up to 3 days. Store the salad components separately to prevent sogginess.
Freeze: Cooked fried chicken can be frozen for up to 3 months in an airtight freezer bag. The fresh vegetables are best used immediately and don’t freeze well.
Reheat: Reheat fried chicken in a 350 degree Fahrenheit oven for about 10 minutes to restore crispiness, rather than using a microwave which will make it soggy. Prepare fresh salad components when ready to serve.
What to Serve With This Crispy Fried Chicken & Fresh Salad Plate
- Creamy ranch dressing or a tangy vinaigrette for dipping or drizzling
- Warm dinner rolls or cornbread to soak up any pan drippings
- A cold beverage like sweet tea, lemonade, or a crisp soda
- Homemade coleslaw for extra crunch and coolness
Estimated Nutrition
- Calories: 485
- Protein: 38g
- Fat: 22g
- Carbohydrates: 35g
(Estimated per serving, without optional ingredients)
Crispy Fried Chicken & Fresh Salad Plate
Ingredients
Method
- Combine eggs and buttermilk in a shallow bowl and whisk until well blended. Place all chicken pieces into the bowl, making sure each piece gets fully coated. Let sit for at least 10 minutes, or longer for more flavor development.
- In another shallow bowl, combine flour, paprika, garlic powder, onion powder, black pepper, salt, and cayenne pepper. Whisk them together evenly to ensure balanced seasoning throughout.
- Pour vegetable oil into a large, deep skillet or Dutch oven to a depth of about 2 inches. Heat on medium-high until the temperature reaches 325-350 degrees Fahrenheit. A small pinch of flour should immediately sizzle in the oil when it's ready.
- Working one piece at a time, lift a chicken piece from the buttermilk, let excess drip off, then place into the seasoned flour. Roll until completely covered. Carefully place into hot oil, frying 2-3 pieces at a time. Fry for 12-15 minutes, turning halfway through, until coating is deep golden brown and internal temperature reaches 165 degrees Fahrenheit.
- While chicken finishes frying, spread shredded lettuce across the center of a white plate. Arrange cucumber slices and tomato slices around the edges in an alternating pattern.
- Transfer hot, crispy chicken pieces onto the fresh salad immediately after removing from oil. Serve immediately while hot chicken and cool salad are at their best temperatures.
