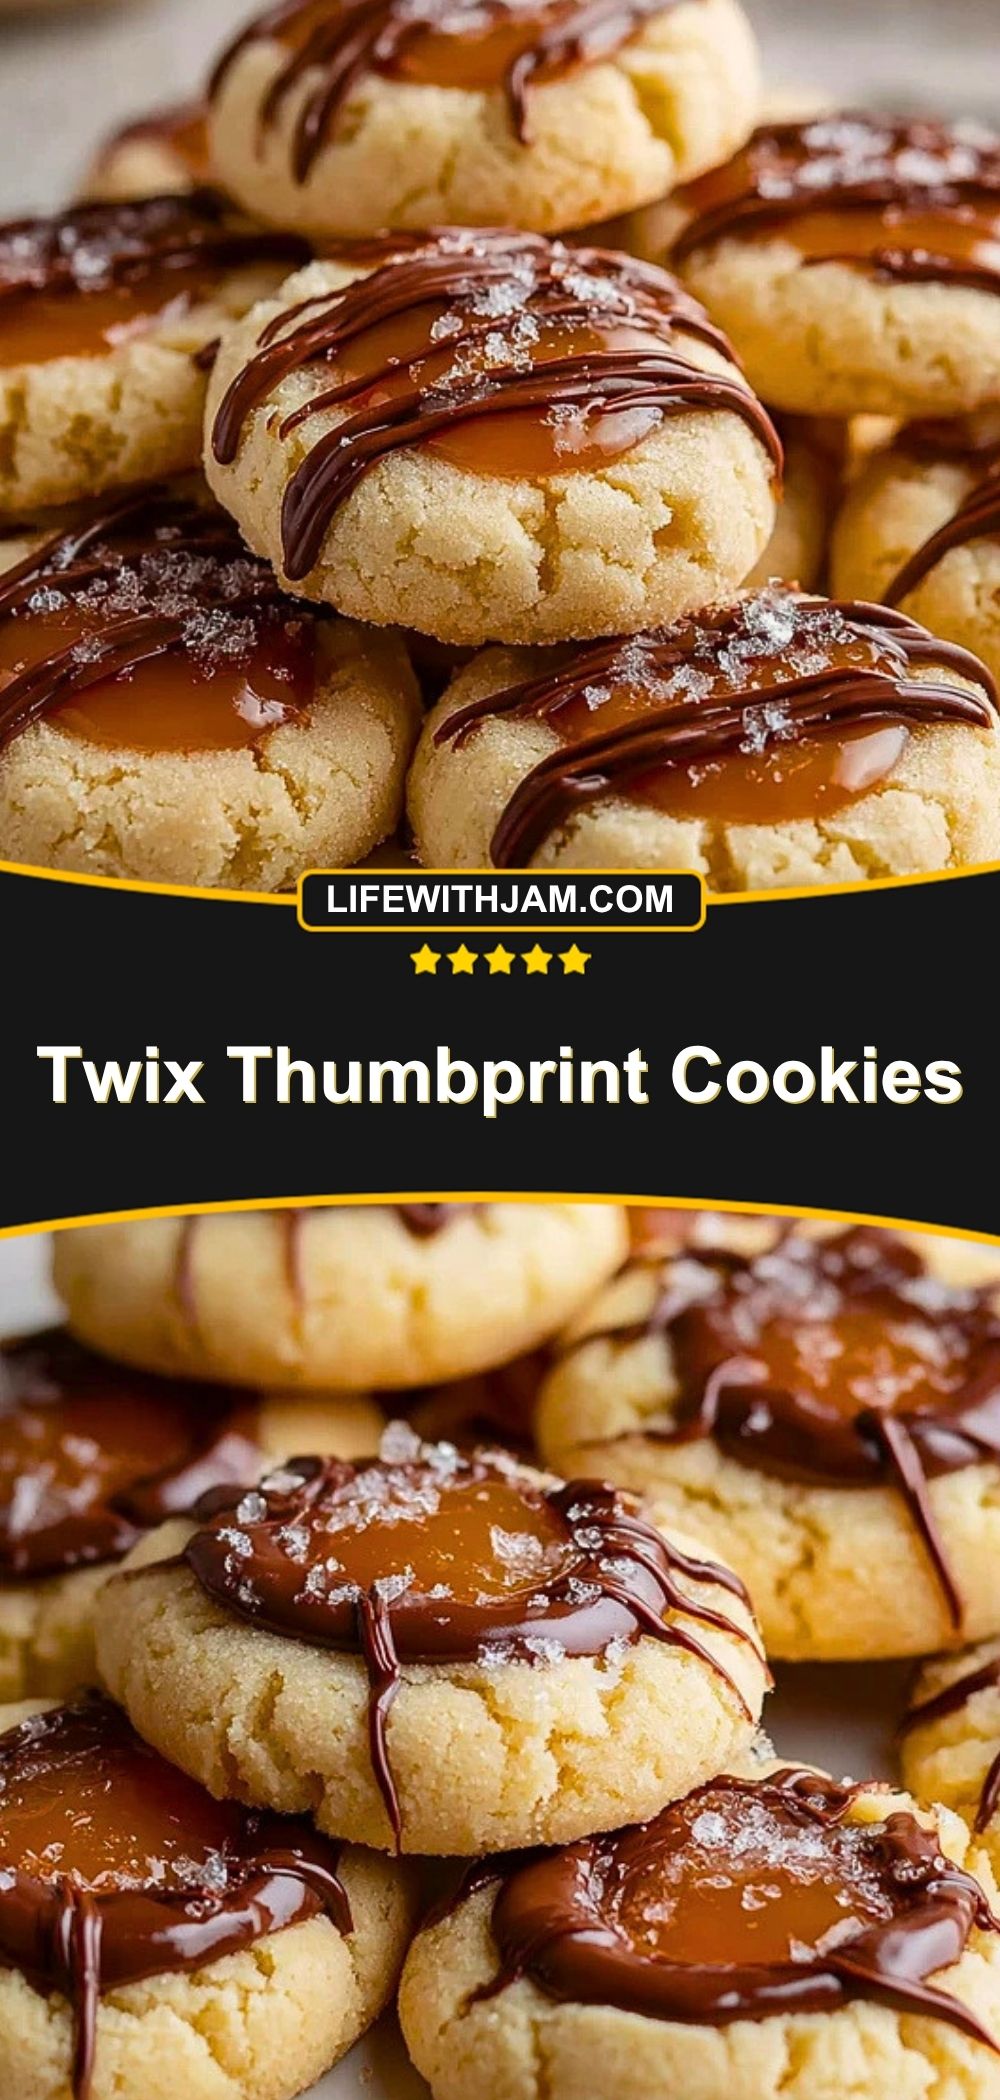
Twix Thumbprint Cookies bring together everything people love about a candy bar in one bakery-style cookie. Each bite starts with a soft, buttery cookie base, then finishes with a smooth caramel center, a drizzle of chocolate, and just the right touch of flaky salt. They look impressive on a dessert tray, but the method is simple enough for a relaxed weekend bake.
These cookies are especially fun for holidays, cookie exchanges, and make-ahead dessert platters because they feel a little extra without asking for complicated ingredients. If you love caramel cookies, chocolate thumbprints, or easy dessert ideas with a candy-inspired twist, this is the kind of treat that disappears fast.
What Makes Twix Thumbprint Cookies So Irresistible?
The magic of Twix Thumbprint Cookies is all about contrast. The cookie itself is tender and rich, the caramel center is smooth and chewy, and the chocolate drizzle adds that classic candy-bar finish. A tiny sprinkle of flaky salt wakes everything up and keeps the sweetness balanced.
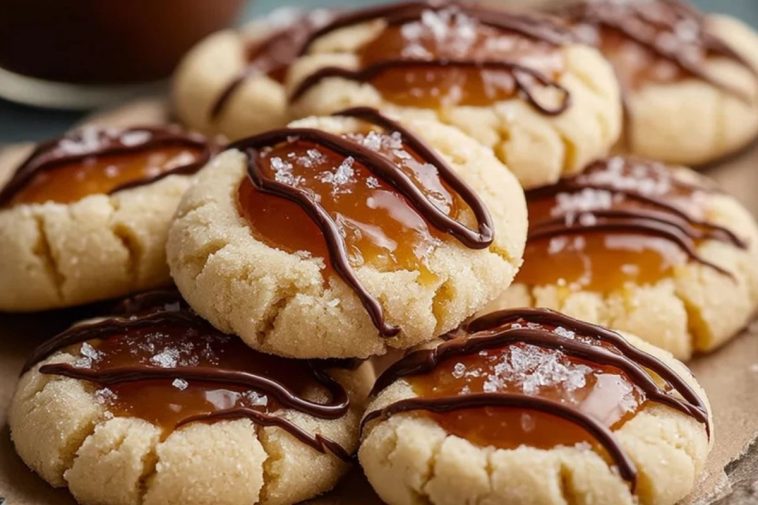
They also have great visual appeal. Once the caramel settles into the center and the chocolate is drizzled over the top, they look like something from a specialty bakery. That makes them perfect when you want a dessert that tastes homemade but still feels special.

Ingredients for the Twix Thumbprint Cookies
You only need a handful of baking staples plus caramel and chocolate to create these rich, candy-inspired cookies. Each ingredient plays an important role in getting the soft texture, defined thumbprint shape, and glossy finish just right.
For the cookie dough
- 1 cup unsalted butter, softened
- 2/3 cup granulated sugar
- 1 large egg yolk
- 2 teaspoons vanilla extract
- 2 1/4 cups all-purpose flour
- 1/2 teaspoon salt
For the filling and topping
- 24 soft caramel candies, unwrapped
- 2 tablespoons heavy cream
- 1/2 cup milk chocolate chips or semisweet chocolate chips
- 1 teaspoon coconut oil or shortening
- Flaky sea salt, for finishing
Optional for extra Twix flavor
- 2 tablespoons crushed shortbread cookies, for garnish
How To Make the Twix Thumbprint Cookies
These cookies come together in a few easy stages: mix the dough, shape and indent the cookies, bake until just set, then fill each center with caramel and finish with melted chocolate. Give yourself a few extra minutes at the end so the topping can set cleanly.
Step 1: Prep the baking sheets
Preheat your oven to 350°F. Line two baking sheets with parchment paper so the cookies bake evenly and lift off easily after cooling.
Step 2: Cream the butter and sugar
In a large mixing bowl, beat the softened butter and granulated sugar until the mixture looks light and fluffy. This helps create a soft, tender cookie instead of a dense one.
Step 3: Add the yolk and vanilla
Mix in the egg yolk and vanilla extract until fully combined. The yolk adds richness and helps the dough hold together without making it too puffy.
Step 4: Add the dry ingredients
Stir in the flour and salt just until a soft dough forms. Do not overmix. The dough should be thick, smooth, and easy to roll.
Step 5: Roll and shape the cookies
Scoop about 1 tablespoon of dough and roll it into balls. Place them on the prepared baking sheets, leaving a little room between each cookie.
Step 6: Make the thumbprints
Use your thumb or the back of a small measuring spoon to press an indentation into the center of each dough ball. If the edges crack a little, gently press them back together with your fingers.
Step 7: Bake until lightly golden
Bake for 10 to 12 minutes, or until the bottoms are lightly golden and the tops look set. If the centers puff slightly during baking, gently press them again with the back of a spoon while the cookies are still warm.
Step 8: Cool the cookies
Let the cookies rest on the baking sheet for 5 minutes, then transfer them to a wire rack to cool completely. This keeps them from breaking before the caramel goes in.
Step 9: Make the caramel filling
In a microwave-safe bowl, combine the soft caramels and heavy cream. Heat in short intervals, stirring between each one, until smooth and pourable.
Step 10: Fill the centers
Spoon the warm caramel into each thumbprint, filling the center without letting it spill over too much.
Step 11: Melt and drizzle the chocolate
Melt the chocolate chips with the coconut oil until smooth. Drizzle the chocolate over the caramel-filled cookies using a spoon or a small piping bag.
Step 12: Finish and set
Sprinkle lightly with flaky sea salt while the chocolate is still soft. Let the cookies sit until the caramel and chocolate are set before serving or storing.
Best Ways to Serve and Store Twix Thumbprint Cookies
These cookies are best served once the caramel has settled and the chocolate has firmed up, which gives them that neat, bakery-style finish. They are lovely with coffee, hot cocoa, or a glass of milk, and they make a standout addition to holiday cookie trays and dessert boards.
To store them, place the cookies in a single layer or separate layers with parchment paper in an airtight container. They keep well at room temperature for about 3 days, or in the refrigerator for up to 1 week. For longer storage, freeze the baked cookies before adding the caramel and chocolate, then decorate after thawing for the freshest texture.
Frequently Asked Questions
Can I make Twix Thumbprint Cookies ahead of time?
Yes. You can bake the cookies a day or two in advance, then add the caramel and chocolate closer to serving time for the cleanest finish.
Why did my thumbprints spread too much?
That usually happens if the butter is too warm or the dough was not measured accurately. If your kitchen is warm, chill the shaped dough balls for 15 to 20 minutes before baking.
Can I use jarred caramel sauce instead of melted caramels?
You can, but use a thick caramel sauce. Thin sauces may stay too runny and spill over the edges.
What kind of chocolate works best?
Milk chocolate gives the most classic Twix-style flavor, but semisweet chocolate works well if you want a less sweet finish.
Do I need flaky salt?
It is optional, but highly recommended. A light sprinkle makes the caramel and chocolate taste deeper and more balanced.
Can I freeze the finished cookies?
Yes, though the texture of the caramel is usually best when freshly added. Freeze in a single layer first, then transfer to a container once firm.
Want More Cookie Ideas?
If these Twix Thumbprint Cookies hit the spot, you might want to keep the cookie baking going with a few more sweet favorites from Life with Jam:
- Caramel Cheesecake Cookies for another rich, caramel-forward cookie.
- Perfect Chocolate Chip Cookies when you want a classic cookie everyone loves.
- Rice Krispie Chocolate Chip Cookies for extra crunch in every bite.
- Lemon Sugar Cookies when you want something bright and buttery.
- Zesty Lemon Oatmeal No-Bake Cookies for an easy no-bake dessert option.
Save This Pin + Share Your Results
📌 Save these Twix Thumbprint Cookies to your Pinterest dessert board so you can come back to them anytime you need an easy cookie recipe for parties, holidays, or sweet weekend baking.
I would love to hear how yours turned out. Did you go with milk chocolate for that true candy bar flavor, or did you use semisweet for a deeper finish? Did you add extra flaky salt on top?
For even more sweet inspiration, browse Life with Jam on Pinterest and save more dessert ideas for later.

Twix Thumbprint Cookies
- Total Time: 32 minutes
- Yield: 24 cookies
- Diet: Vegetarian
Description
Twix Thumbprint Cookies are the kind of easy dessert that instantly feels special, with buttery shortbread-style cookies, creamy caramel centers, a drizzle of chocolate, and a touch of flaky salt. They are perfect for holiday baking, cookie trays, dessert boards, and sweet snack cravings, making them one of those easy recipe favorites that fit right into your best food ideas for parties, homemade treats, and simple dessert baking.
Ingredients
1 cup unsalted butter, softened
2/3 cup granulated sugar
1 large egg yolk
2 teaspoons vanilla extract
2 1/4 cups all-purpose flour
1/2 teaspoon salt
24 soft caramel candies, unwrapped
2 tablespoons heavy cream
1/2 cup milk chocolate chips
1 teaspoon coconut oil or shortening
1/2 teaspoon flaky sea salt
Instructions
1. Preheat the oven to 350°F and line two baking sheets with parchment paper.
2. In a large bowl, beat the softened butter and granulated sugar until light and fluffy.
3. Mix in the egg yolk and vanilla extract until smooth.
4. Add the flour and salt, then mix just until a soft dough forms.
5. Scoop about 1 tablespoon of dough at a time and roll into balls.
6. Place the dough balls on the prepared baking sheets and press a thumbprint into the center of each one.
7. Bake for 10 to 12 minutes, until the cookies are lightly golden on the bottom and set on top.
8. If needed, gently re-press the centers while the cookies are still warm.
9. Let the cookies cool on the pan for 5 minutes, then transfer to a wire rack.
10. In a microwave-safe bowl, melt the caramel candies with the heavy cream, stirring until smooth.
11. Spoon the caramel into the center of each cooled cookie.
12. Melt the milk chocolate chips with the coconut oil until smooth.
13. Drizzle the melted chocolate over the caramel centers.
14. Sprinkle lightly with flaky sea salt and let the cookies set before serving.
Notes
Chill the shaped cookie dough for 15 minutes before baking if your kitchen is warm.
Use soft caramels for the smoothest filling and easiest melting.
Let the caramel cool slightly before adding the chocolate drizzle so the layers stay distinct.
- Prep Time: 20 minutes
- Cook Time: 12 minutes
- Category: Dessert
- Method: Baked
- Cuisine: American
Nutrition
- Serving Size: 1 cookie
- Calories: 180
- Sugar: 13g
- Sodium: 65mg
- Fat: 9g
- Saturated Fat: 5g
- Unsaturated Fat: 3g
- Trans Fat: 0g
- Carbohydrates: 24g
- Fiber: 0.5g
- Protein: 2g
- Cholesterol: 25mg