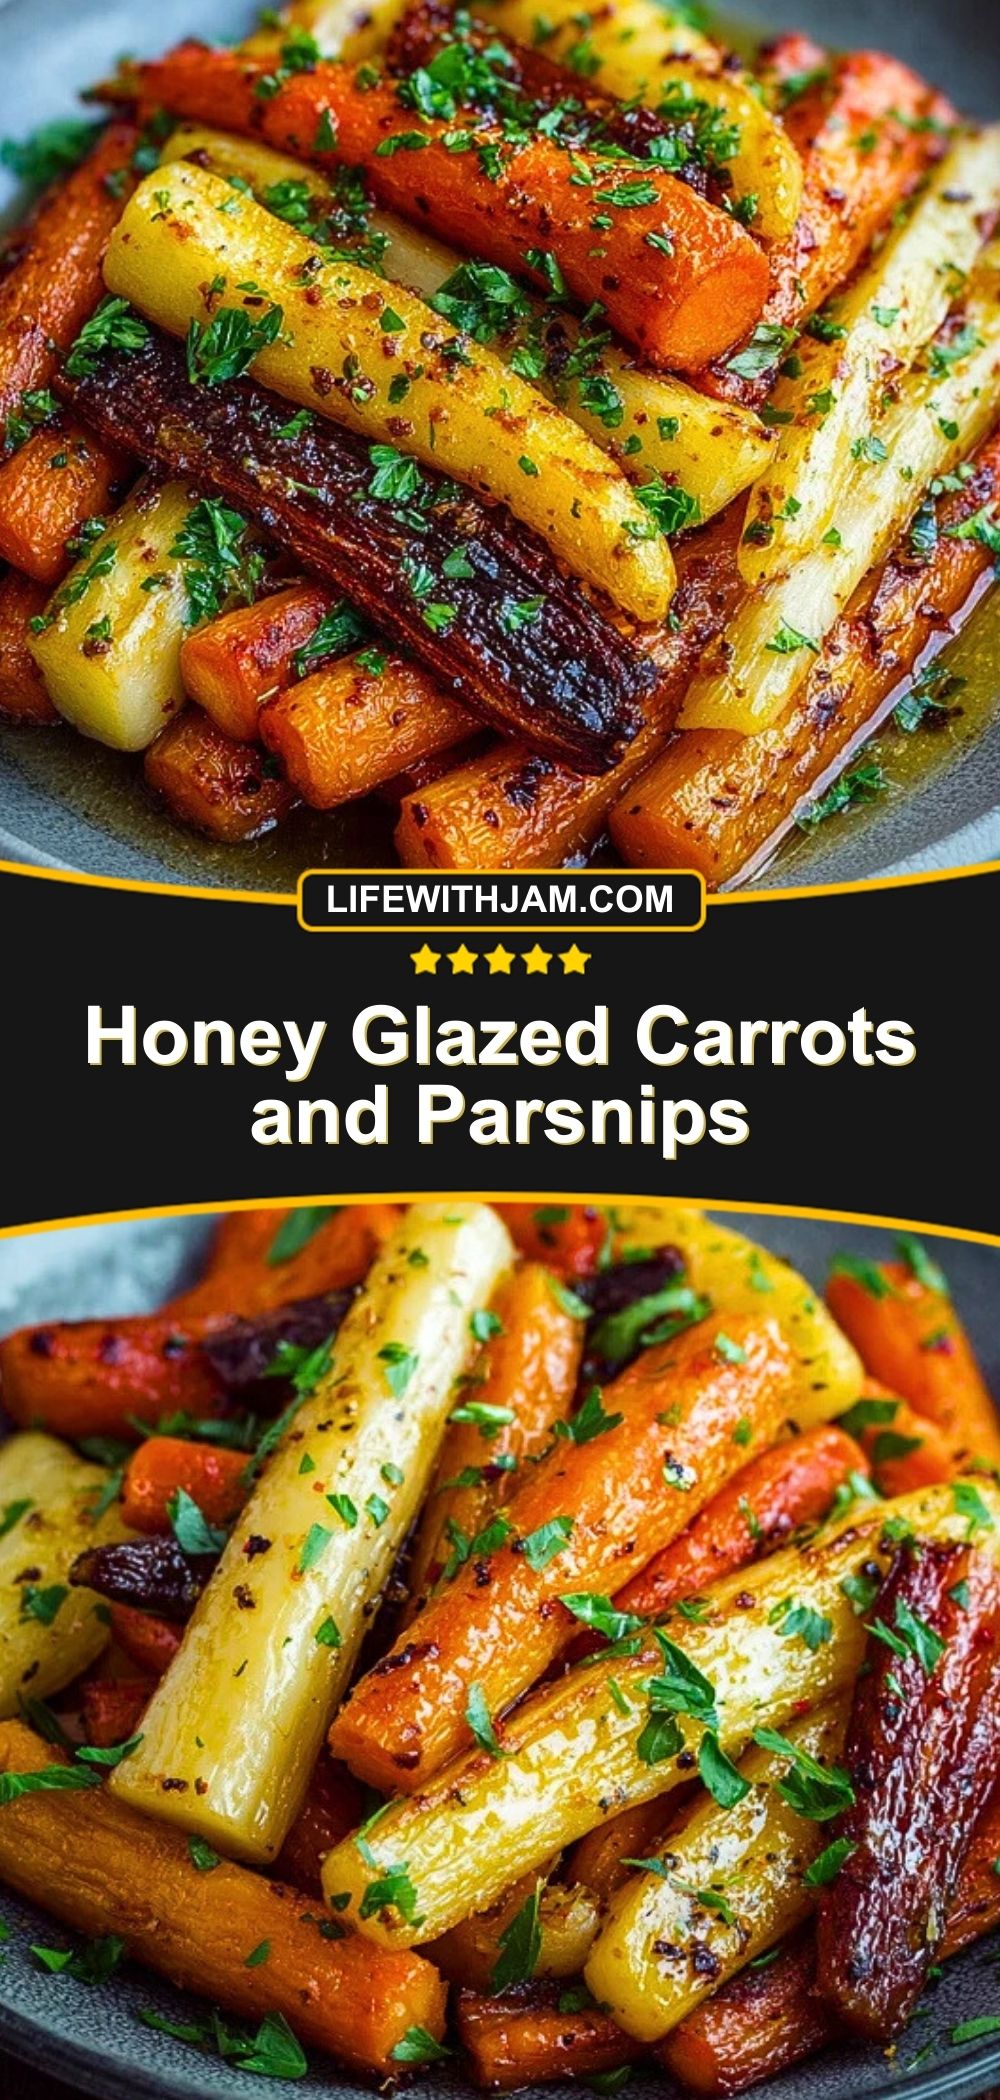

Golden roasted to perfection with a sweet and buttery finish, these Honey Glazed Carrots and Parsnips are the side dish your dinner table has been missing. This colorful medley of root vegetables brings together earthy, nutty parsnips and naturally sweet carrots, all caramelized in a luscious honey glaze. It’s rustic comfort food elevated with just a touch of elegance.
Whether you’re planning a cozy fall dinner, a festive holiday spread, or a simple weeknight meal, this dish delivers on flavor and presentation. The honey adds depth and richness, while a hint of fresh herbs provides balance. It’s a side that feels both homey and special, with minimal ingredients and maximum payoff.
What Kind of Root Vegetables Work Best?
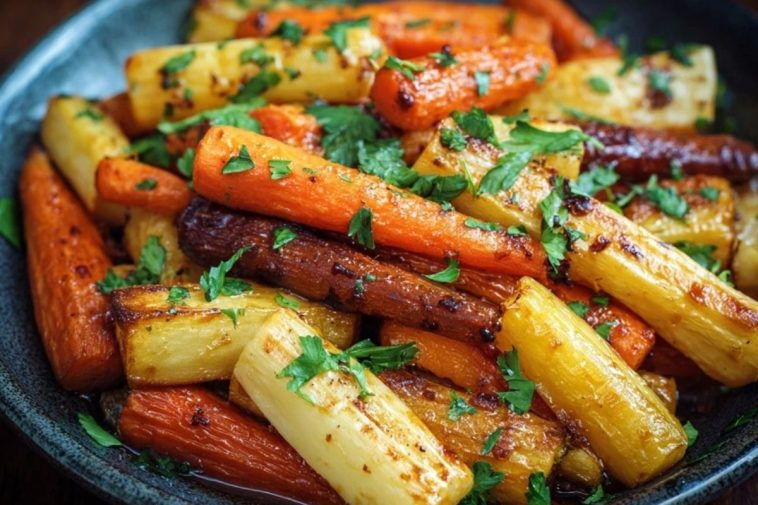
Carrots and parsnips are the classic pairing here for good reason. Carrots bring a natural sweetness and vibrant orange color, while parsnips add a slightly spiced, nutty flavor and golden creaminess. Choose firm, fresh vegetables without blemishes. Multicolored carrots or baby heirloom varieties can elevate the visual appeal without changing the cooking process.

Ingredients for the Honey Glazed Carrots and Parsnips
Carrots: Essential for their sweetness and hearty texture. They roast beautifully and develop a lovely caramelized exterior.
Parsnips: These add a subtle spiced flavor that pairs incredibly well with honey. Their soft creaminess balances the firmer carrot texture.
Honey: The glaze star. It caramelizes as it roasts, bringing out the natural sugars in the vegetables.
Olive Oil or Butter: Needed to coat the veggies and aid in roasting. Olive oil keeps it dairy-free, but butter adds richness.
Salt & Pepper: Basic seasonings that enhance every other flavor.
Fresh Thyme or Parsley (optional): A sprinkle of herbs at the end lifts the dish and adds a hint of brightness.
How To Make the Honey Glazed Carrots and Parsnips
Step 1: Prep Your Veggies
Peel the carrots and parsnips, then cut them into similar-sized sticks or batons to ensure even cooking. Try to keep them about 3 inches long and ½ inch thick.
Step 2: Make the Glaze
In a large mixing bowl, whisk together honey, olive oil (or melted butter), salt, and pepper. If you’d like to add extra flavor, a pinch of cinnamon or a splash of apple cider vinegar works well too.
Step 3: Toss and Coat
Add the carrots and parsnips to the bowl and toss them well so they’re evenly coated in the glaze. Don’t skip this step—coating each piece ensures they roast up glossy and flavorful.
Step 4: Roast to Caramelized Perfection
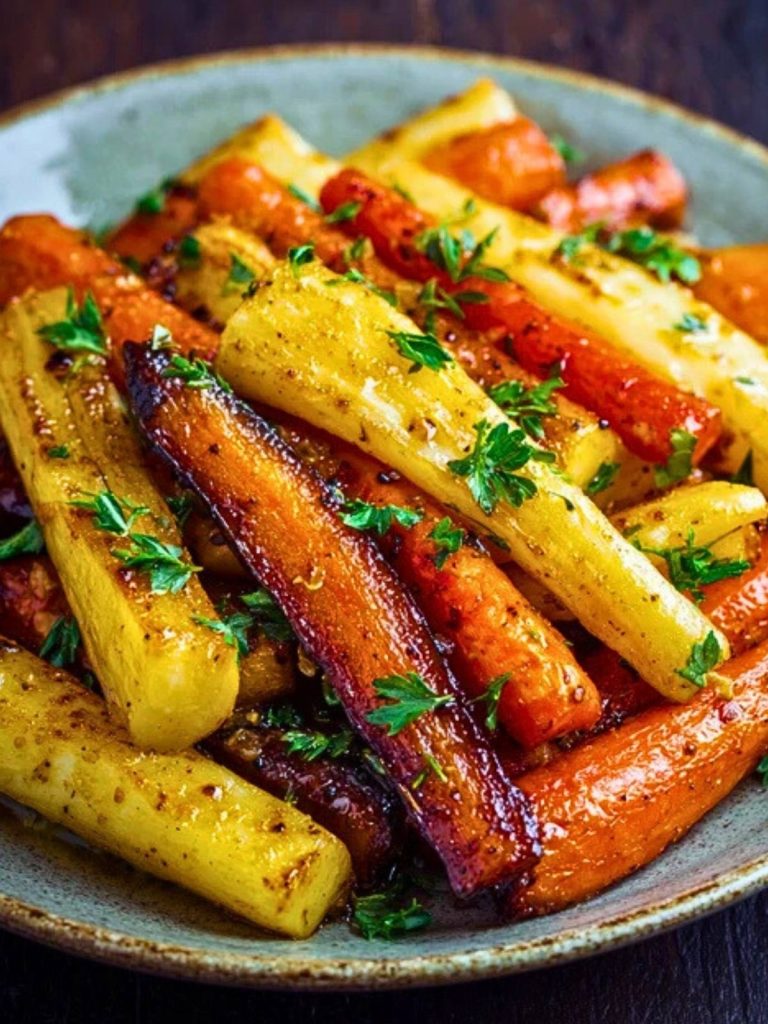
Spread the veggies in a single layer on a baking sheet lined with parchment paper. Roast in a preheated oven at 400°F (200°C) for about 30–35 minutes, flipping once halfway through. They should be fork-tender with some golden, caramelized edges.
Step 5: Garnish and Serve
Remove from the oven and sprinkle with freshly chopped parsley or thyme. Serve warm, and enjoy that gorgeous honey-kissed glaze.
How to Serve and Store These Honey Glazed Carrots and Parsnips
These roasted vegetables pair beautifully with holiday classics like roasted turkey, glazed ham, or even a vegetarian lentil loaf. For weeknight meals, try serving them alongside baked chicken thighs or a creamy mushroom risotto. Their natural sweetness makes them a hit with kids and adults alike.
To store leftovers, let them cool completely, then transfer to an airtight container. They’ll keep in the refrigerator for up to 4 days. Reheat in the oven at 350°F until warmed through, or toss them in a skillet with a touch of butter to revive their crisp edges.
Frequently Asked Questions
Can I make this recipe ahead of time?
Yes, you can roast the vegetables a day in advance. Reheat in the oven to crisp them back up before serving.
Can I use maple syrup instead of honey?
Absolutely! Maple syrup adds a slightly deeper flavor and still provides that beautiful caramelization.
Do I have to peel the carrots and parsnips?
Peeling is recommended for the best texture and flavor, especially with parsnips, which can have tough skin.
Can I add other vegetables to this mix?
Sure! Sweet potatoes, red onions, or even beets work well. Just keep the cut sizes consistent for even roasting.
Are these gluten-free and dairy-free?
Yes! Just use olive oil instead of butter for a completely dairy-free version.
How do I keep the vegetables from getting soggy?
Make sure they’re spread out in a single layer on the baking sheet, and don’t overcrowd. Roasting at high heat helps them caramelize instead of steam.
Want More Side Dish Ideas?
If you enjoyed these honey glazed carrots and parsnips, you’ll probably love these other satisfying sides:
- Roasted Potatoes and Carrots for a comforting and hearty option.
- Easy Pumpkin Muffins if you’re into sweet-savory fall pairings.
- Winter Brittle for a snacky sweet treat to follow your meal.
- Grilled Peach and Honey Mustard Dressing to elevate your salad game.
- Louisiana Remoulade Sauce that pairs perfectly with roasted root veggies.
Save This Pin + Share Your Results
📌 Save this recipe to your Pinterest veggie board so you can come back to it any time.
And let me know in the comments how yours turned out. Did you use heirloom carrots? Try a touch of cinnamon or fresh rosemary? I love hearing how these recipes get personalized.
You can find more daily recipe inspiration and cozy seasonal favorites on my Pinterest board: Life with Jam.

Honey Glazed Carrots and Parsnips
- Total Time: 35 minutes
- Yield: Serves 8
- Diet: Vegetarian
Description
This Chocolate Chip Skillet Cookie recipe delivers crispy edges and a gooey, melty center loaded with rich chocolate chunks. It’s baked in a cast-iron skillet for the perfect golden texture. Ideal for family desserts or cozy nights in. Easy, one-pan, and packed with flavor.
Ingredients
1 3/4 cups all-purpose flour
1/2 teaspoon baking soda
1/2 teaspoon salt
3/4 cup unsalted butter, browned
1/2 cup packed brown sugar
1/4 cup granulated sugar
1 teaspoon vanilla extract
1 large egg
1 egg yolk
1 1/4 cups chocolate chunks or chips
Flaky sea salt (optional)
Instructions
1. Brown the butter in a 10-inch cast iron skillet over medium heat until golden and fragrant. Remove and let cool slightly.
2. In a large bowl, mix browned butter with both sugars until smooth. Add vanilla, egg, and egg yolk. Stir until glossy.
3. In a separate bowl, whisk together flour, baking soda, and salt. Gradually mix into the wet ingredients.
4. Stir in most of the chocolate chunks, saving a few for topping.
5. Press the dough evenly into the skillet. Top with remaining chocolate chunks.
6. Bake at 350°F (175°C) for 20–25 minutes until golden at the edges and soft in the center.
7. Cool for 5–10 minutes. Serve warm with ice cream and optional flaky sea salt.
Notes
For crispier edges, let the skillet preheat in the oven for a couple of minutes before adding the dough.
Use chopped chocolate bars for richer melting pools instead of chips.
Don’t overbake—the cookie continues to cook after being removed from the oven.
- Prep Time: 10 minutes
- Cook Time: 25 minutes
- Category: Dessert
- Method: Baking
- Cuisine: American
Nutrition
- Serving Size: 1 slice (1/8 of skillet)
- Calories: 390
- Sugar: 26g
- Sodium: 150mg
- Fat: 21g
- Saturated Fat: 13g
- Unsaturated Fat: 6g
- Trans Fat: 0g
- Carbohydrates: 46g
- Fiber: 2g
- Protein: 4g
- Cholesterol: 75mg