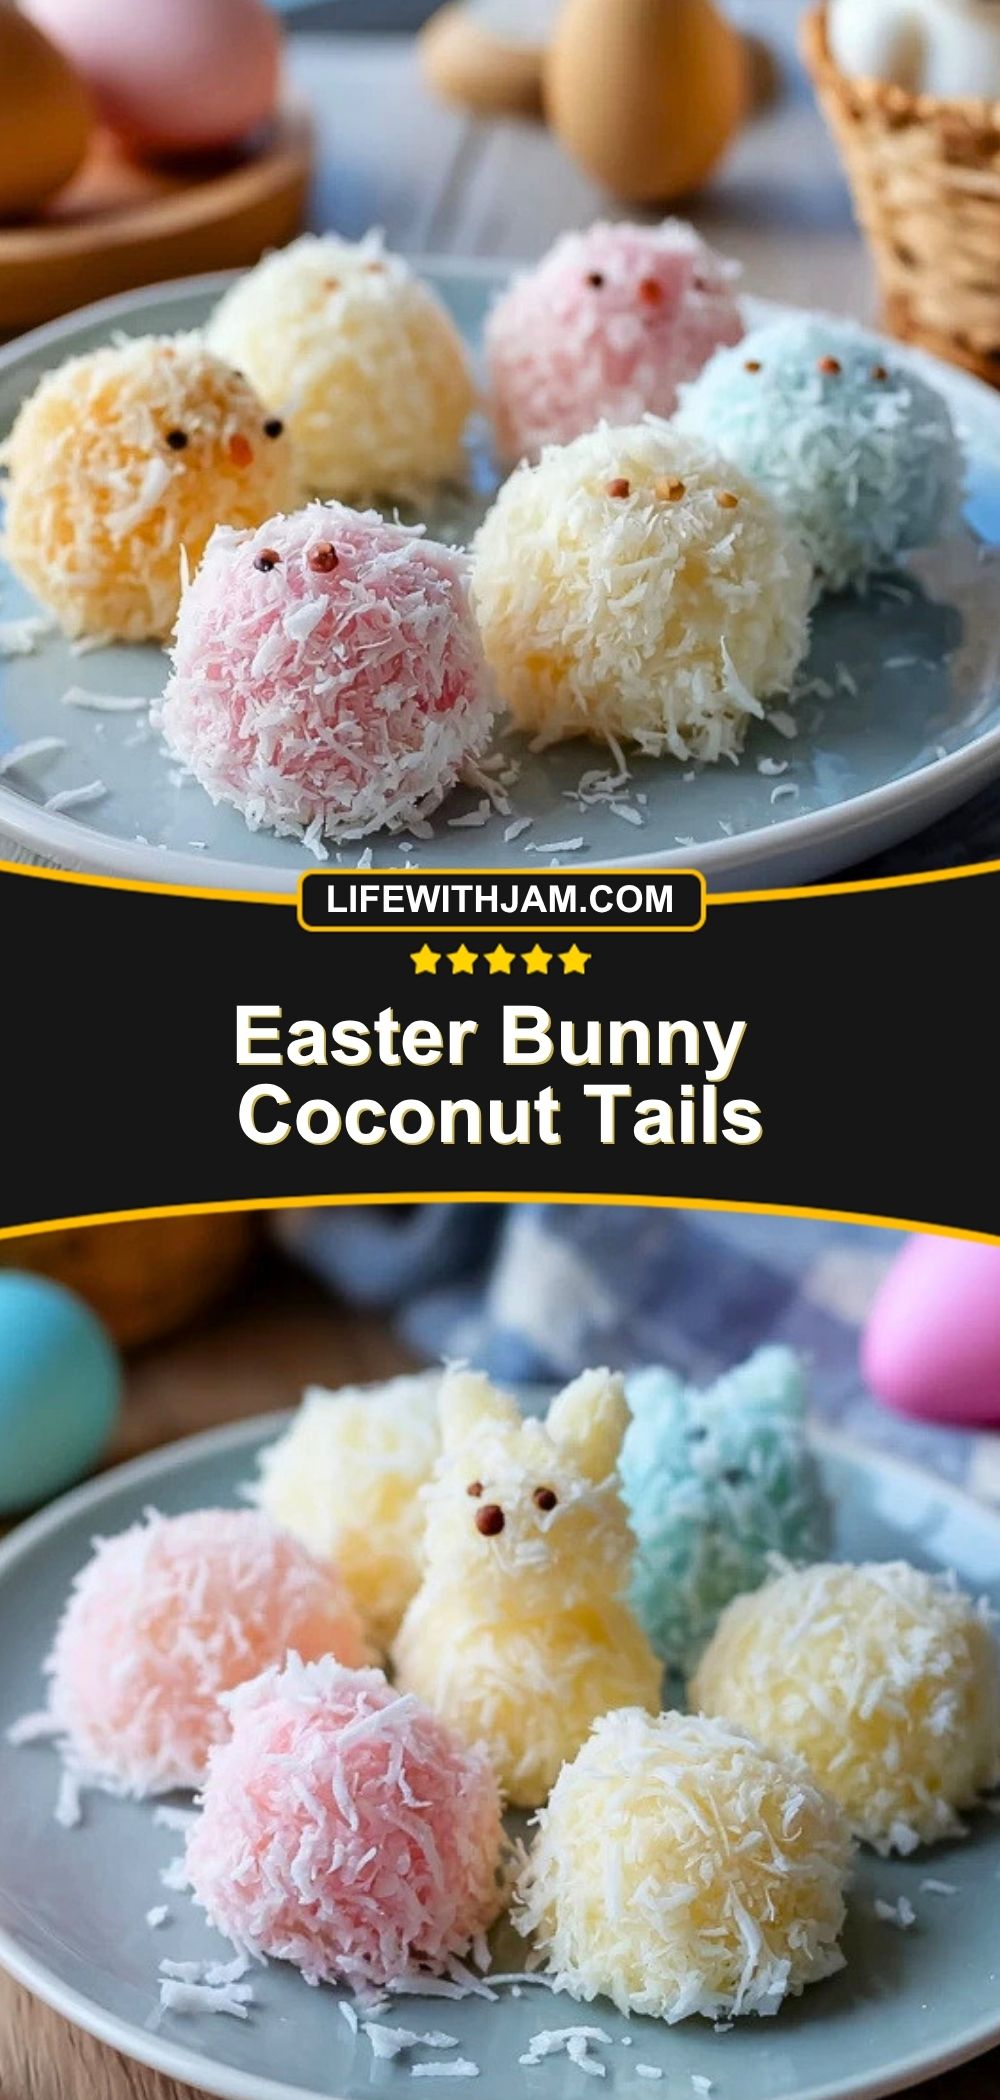

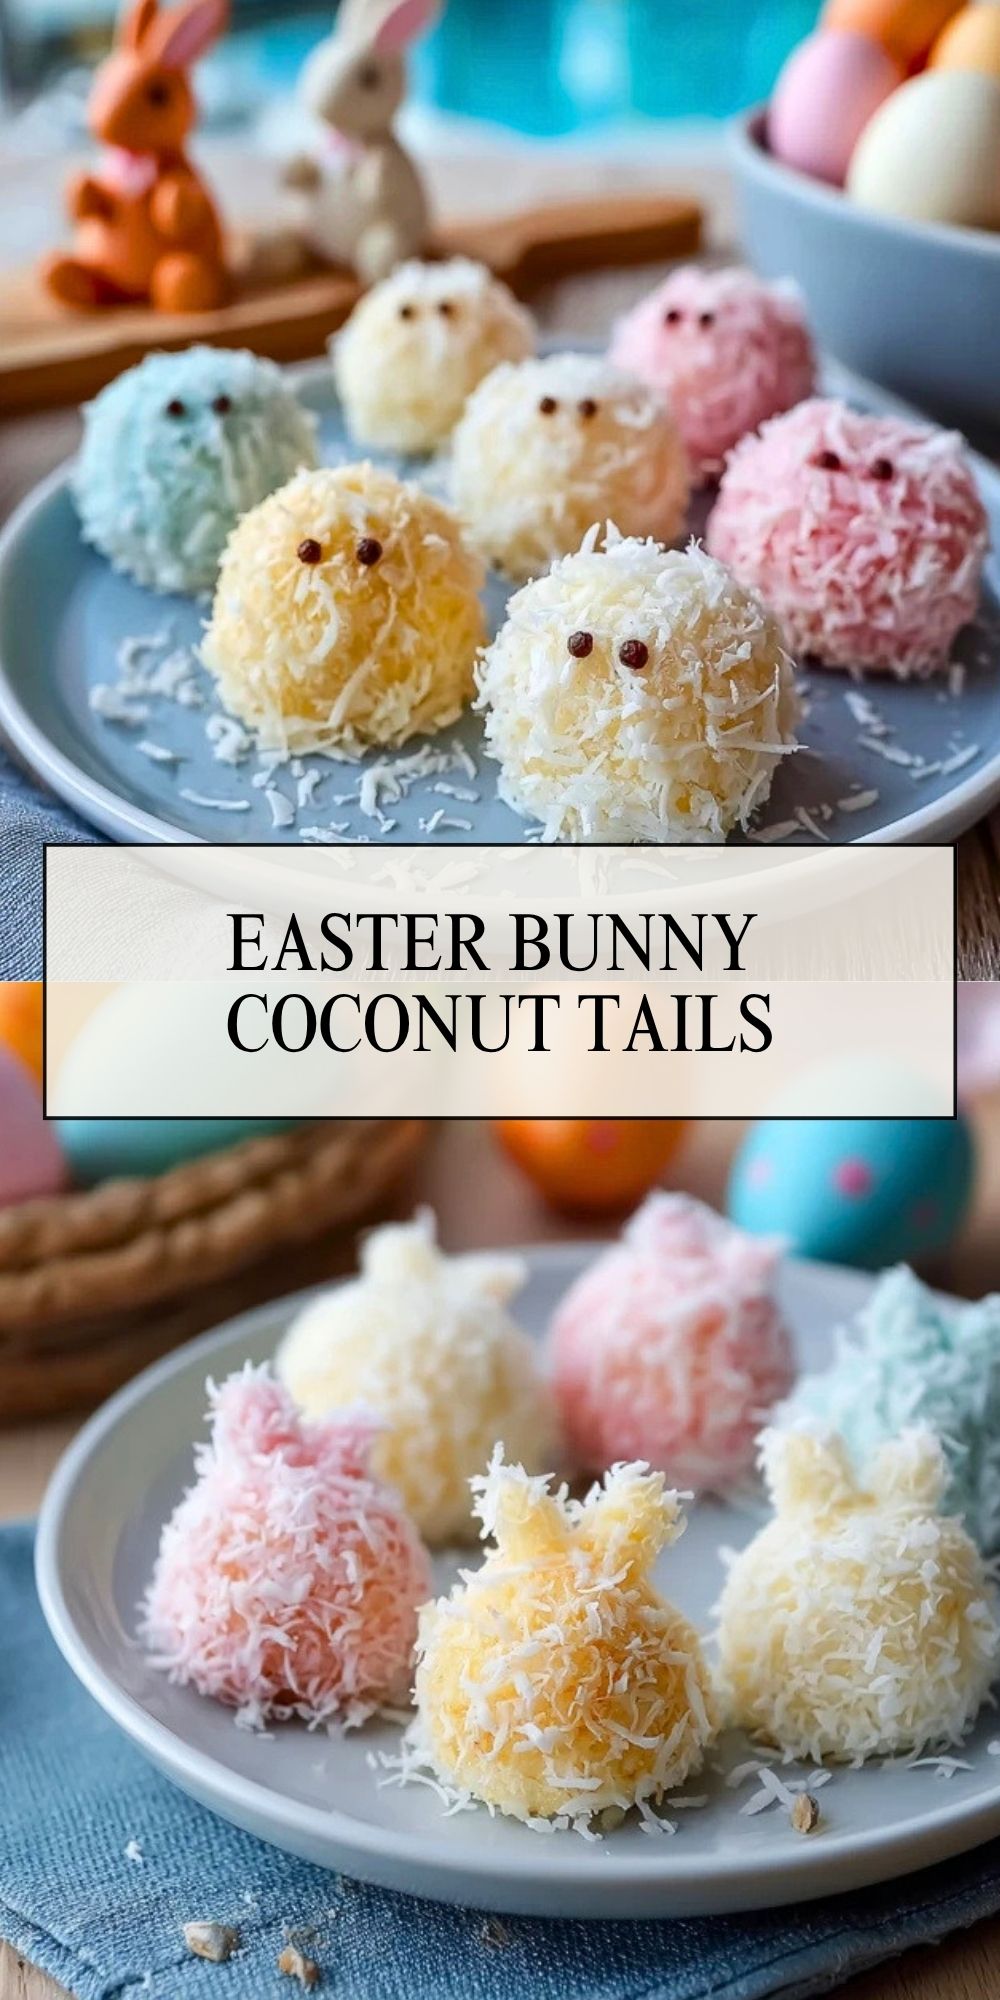
These Easter Bunny Coconut Tails are the kind of sweet little treat that instantly makes a spring dessert table feel more playful. Soft, chewy, and coated in fluffy shredded coconut, they look like tiny bunny tails and pastel candy all at once. Their no-fuss charm makes them especially fun for Easter brunch, baby showers, classroom parties, or any afternoon when you want something festive without turning on the oven for hours.
What makes them even better is how simple they are to pull together. A creamy coconut mixture gets tinted in soft spring shades, rolled into little mounds, and finished with extra coconut for that fluffy bunny-tail look. They are sweet, bite-sized, and easy enough to make with kids, which gives them a spot on the list of Easter recipes you will want to revisit every year.
Why Are Easter Bunny Coconut Tails So Cute and Easy?
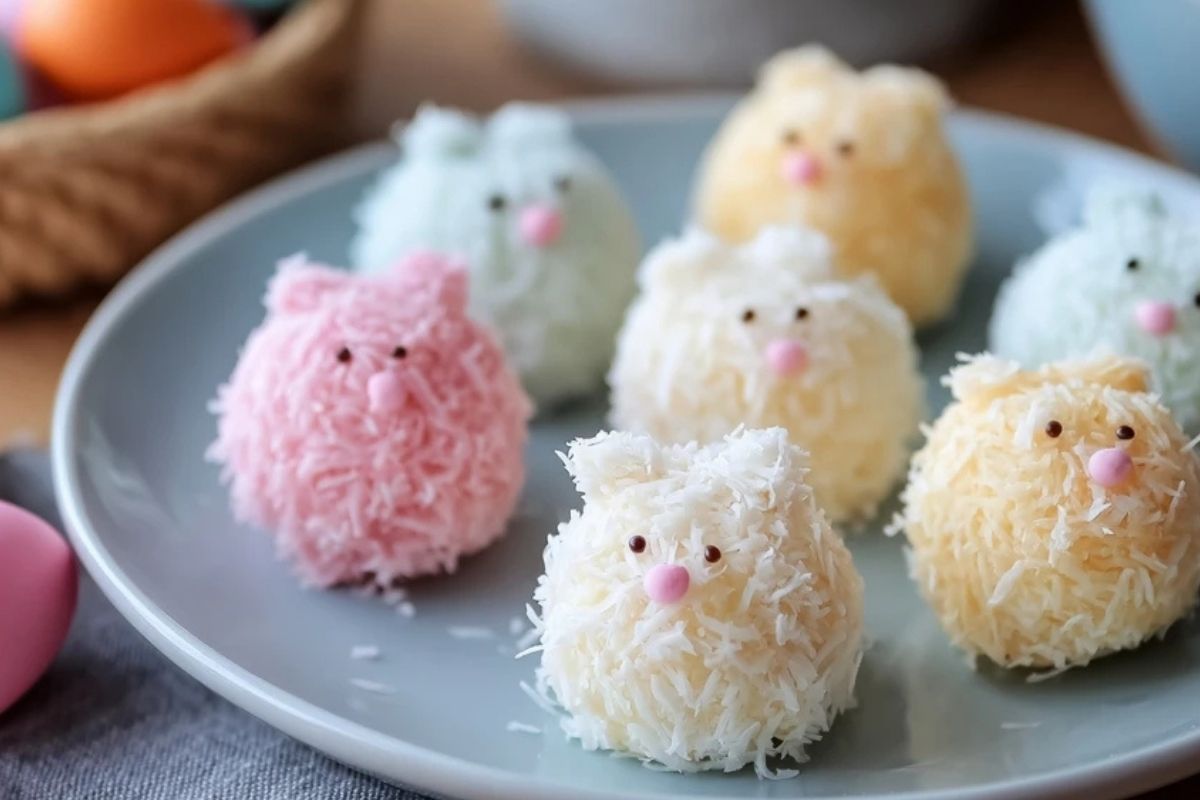
Easter Bunny Coconut Tails are a fun no-bake style dessert that leans on simple ingredients and playful presentation. The pastel colors give them a cheerful holiday look, while the coconut coating creates that fluffy texture that makes each piece resemble a tiny bunny tail. They are ideal when you want something homemade that feels special but does not require advanced baking skills.
Because they are served chilled, they are also convenient to prepare ahead. You can make them the day before Easter, keep them in the refrigerator, and bring them out when you are ready to serve. That make-ahead ease is one more reason they work so well for busy holiday menus.

Ingredients for the Easter Bunny Coconut Tails
These ingredients come together to create a soft, sweet coconut center with enough structure to hold its shape once chilled.
- Sweetened shredded coconut: The star ingredient for both the filling and the outer coating. It gives the treats their signature fluffy texture.
- Sweetened condensed milk: Brings everything together with a rich, creamy sweetness.
- Powdered sugar: Helps thicken the mixture and gives the centers a soft candy-like texture.
- Vanilla extract: Adds warm bakery flavor that rounds out the coconut nicely.
- Pinch of salt: Balances the sweetness and keeps the flavor from tasting flat.
- Food coloring: Pink, yellow, and blue work beautifully for a pastel Easter theme.
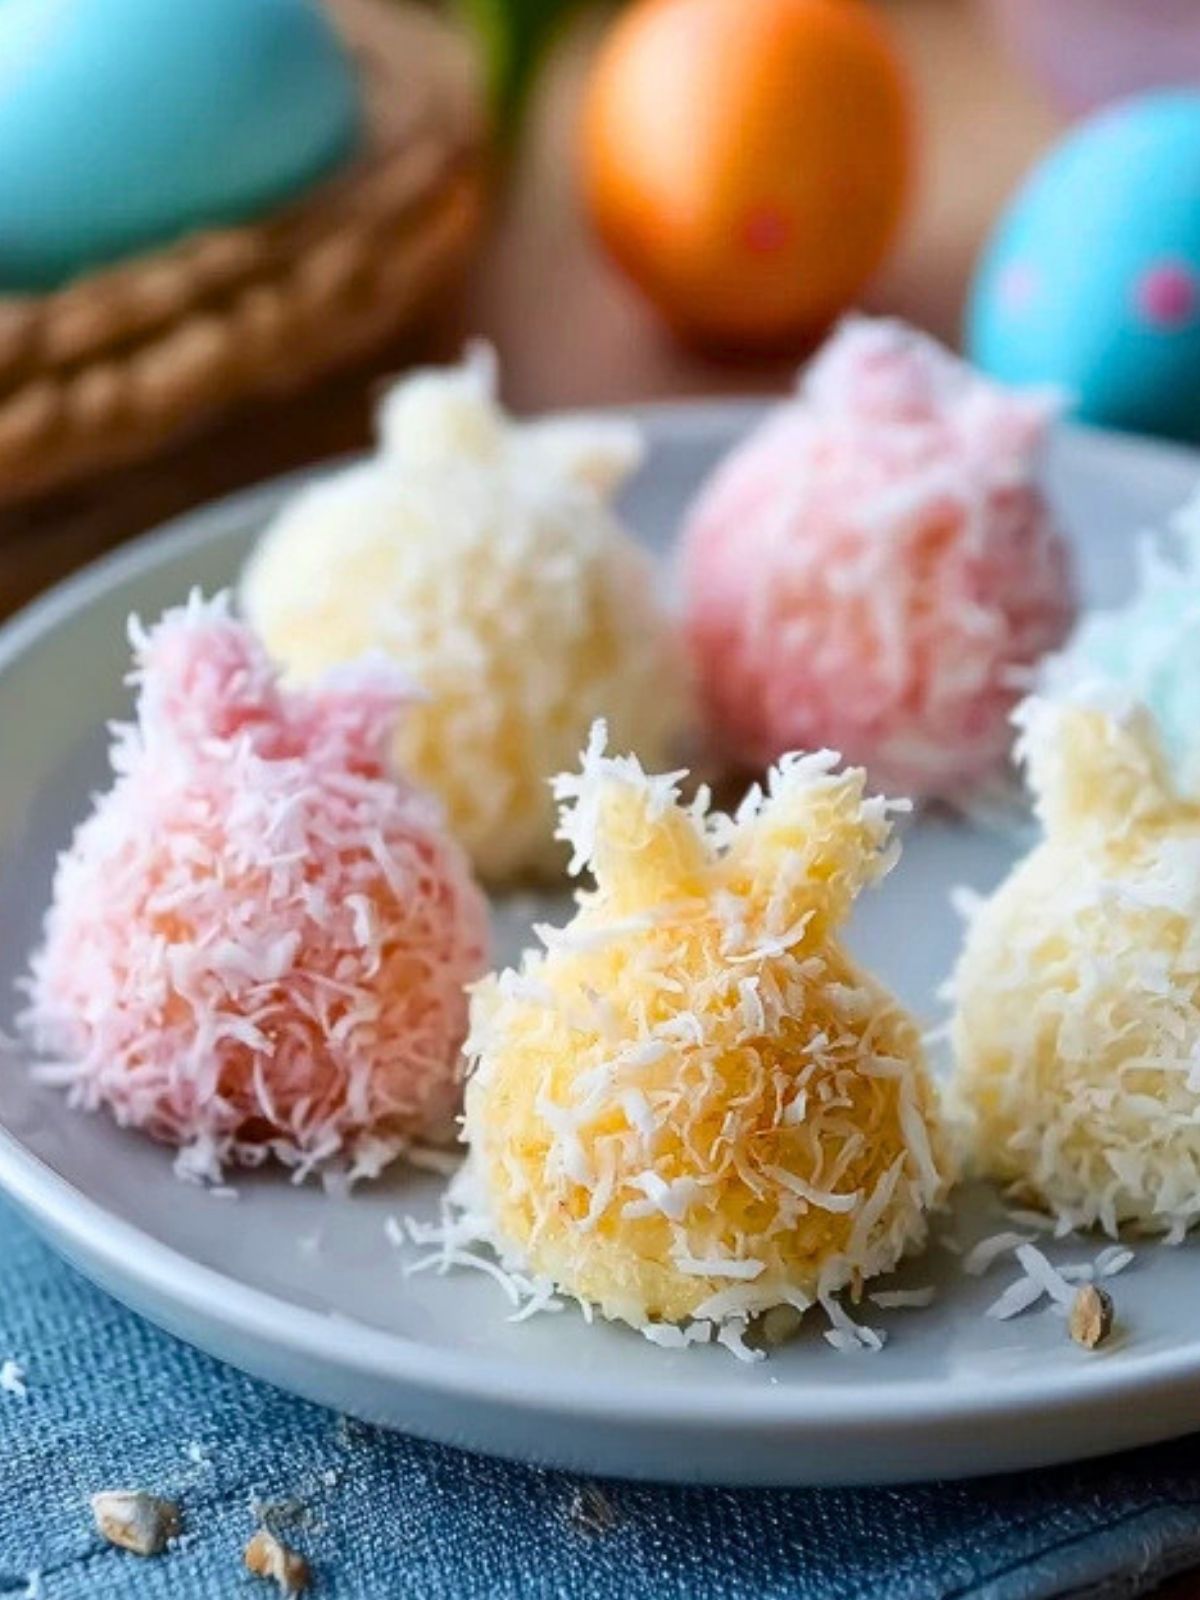
- Extra shredded coconut for rolling: This final coating makes the finished tails look extra fluffy.
Optional add-ins:
- A drop of almond extract for a more bakery-style flavor
- White chocolate drizzle for a slightly dressier finish
- Sanding sugar or pastel sprinkles for extra holiday sparkle
How To Make the Easter Bunny Coconut Tails
These little treats come together in a few easy steps, and the process is perfect for making a big batch for spring gatherings.
Step 1: Mix the Coconut Base
In a large mixing bowl, stir together the sweetened condensed milk, powdered sugar, vanilla extract, and a small pinch of salt. Fold in the shredded coconut until the mixture becomes thick and sticky. It should hold together when pressed between your fingers.
Step 2: Divide and Tint the Mixture
Separate the mixture into three or four small bowls, depending on how many pastel shades you want to make. Add a drop or two of food coloring to each bowl and stir until the colors are evenly blended. Keep the colors soft and light for the prettiest Easter look.
Step 3: Chill for Easier Shaping
Cover the bowls and refrigerate the coconut mixture for about 20 to 30 minutes. Chilling helps firm it up so it is easier to shape without sticking too much to your hands.
Step 4: Shape the Bunny Tails
Scoop out small portions and roll or press them into rounded mounds with a slight point or tuft at the top. They do not need to be perfectly smooth. In fact, a slightly rustic shape makes them look even more like fluffy bunny tails.
Step 5: Coat with Coconut
Roll each shaped piece in extra shredded coconut until fully covered. Gently press the coconut onto the outside so it sticks well. This step gives the treats their soft, furry appearance.
Step 6: Chill Until Set
Arrange the finished Easter Bunny Coconut Tails on a tray or plate lined with parchment paper. Refrigerate for another 20 to 30 minutes, or until they are firm enough to serve.
Step 7: Serve and Enjoy
Place them on a dessert platter, tuck them into cupcake liners, or arrange them beside dyed Easter eggs for a sweet seasonal display.
Serving and Storing Easter Bunny Coconut Tails
Easter Bunny Coconut Tails are best served chilled or slightly cool, especially if your kitchen is warm. Their texture stays soft and chewy, while the coconut coating keeps its fluffy look. They fit beautifully on Easter dessert boards, cookie trays, and party platters.
Store leftovers in an airtight container in the refrigerator for up to 5 days. If you want to prepare them further in advance, you can freeze them in a single layer until firm, then transfer them to a freezer-safe container. Let them thaw in the refrigerator before serving for the best texture.
Frequently Asked Questions
Can I make Easter Bunny Coconut Tails ahead of time?
Yes. They are a great make-ahead Easter treat and can be prepared a day or two in advance.
Do I need to bake them?
No. These are a simple chilled dessert, so no baking is required.
Can I use unsweetened coconut?
You can, but the texture and sweetness will be less rich. Sweetened shredded coconut gives the best flavor and softness for this recipe.
How do I keep the mixture from sticking to my hands?
Chilling the mixture first helps a lot. You can also lightly dampen your hands before shaping.
Can I make them all one color?
Absolutely. White is lovely for a classic bunny-tail look, but pastel shades make them especially fun for Easter.
Are these good for gifting?
Yes. Place them in mini paper liners or a small gift box, and they make an adorable homemade Easter treat.
Want More Easter Dessert Ideas?
If you love these Easter Bunny Coconut Tails, you might also enjoy a few more festive sweets from Life with Jam:
- Cherry Topped Coconut Macaroons for another coconut dessert with a pretty bakery-style finish.
- Easter Chocolate Chip Cookies when you want a colorful holiday cookie everyone recognizes.
- Lemon Sugar Cookies for a bright citrus treat that feels perfect for spring.
- Mini Lemon Bundt Cakes if you want something soft, sunny, and party-ready.
- Strawberry Cheesecake Poke Cake for a creamy, crowd-pleasing dessert with big holiday table appeal.
Save This Pin + Share Your Results
📌 Save this recipe to your Pinterest Easter desserts board so you can find it again when you need an easy spring treat.
And let me know how your Easter Bunny Coconut Tails turned out. Did you use soft pastel shades, keep them classic white, or add a little sparkle on top? I always love seeing the creative twists people bring to holiday sweets.
For even more recipe inspiration, visit Life with Jam on Pinterest and save your favorites for later.
Easter Bunny Coconut Tails
- Total Time: 45 minutes
- Yield: 18 bunny tails
- Diet: Vegetarian
Description
These Easter Bunny Coconut Tails are a quick Easter dessert with a soft, chewy coconut center and a fluffy pastel finish that makes them perfect for spring parties, holiday dessert boards, easy recipe collections, sweet snack ideas, and fun food ideas for family gatherings.
Ingredients
3 cups sweetened shredded coconut
1 cup sweetened condensed milk
1 cup powdered sugar
1 teaspoon vanilla extract
1 pinch salt
3 drops pink food coloring
3 drops yellow food coloring
3 drops blue food coloring
1 1/2 cups sweetened shredded coconut for rolling
Instructions
1. In a large bowl, stir together the sweetened condensed milk, powdered sugar, vanilla extract, and salt until smooth.
2. Fold in the shredded coconut until a thick, sticky mixture forms.
3. Divide the mixture evenly into three or four small bowls.
4. Tint each bowl with a small amount of pastel food coloring and mix until the color is evenly blended.
5. Chill the colored coconut mixture for 20 to 30 minutes so it is easier to shape.
6. Scoop small portions and form them into rounded tails with a slightly pointed top.
7. Roll each piece in the extra shredded coconut until fully coated.
8. Place the bunny tails on a parchment-lined tray and chill for another 20 to 30 minutes.
9. Serve chilled or slightly cool.
Notes
Use gel food coloring if you want pastel shades without adding extra liquid.
Chill the mixture before shaping so the tails hold together more easily.
Store the finished bunny tails in the refrigerator to keep their fluffy coating fresh.
- Prep Time: 15 minutes
- Cook Time: 0 minutes
- Category: Dessert
- Method: No-Bake
- Cuisine: American
Nutrition
- Serving Size: 1 bunny tail
- Calories: 145
- Sugar: 17g
- Sodium: 38mg
- Fat: 7g
- Saturated Fat: 6g
- Unsaturated Fat: 1g
- Trans Fat: 0g
- Carbohydrates: 21g
- Fiber: 2g
- Protein: 2g
- Cholesterol: 4mg